RadRunner Center Console Installation Guide
The RadRunner center console is compatible with the RadRunner 1 and RadRunner Plus. The kit comes with the console and hardware. Use the instructions below to install the console.
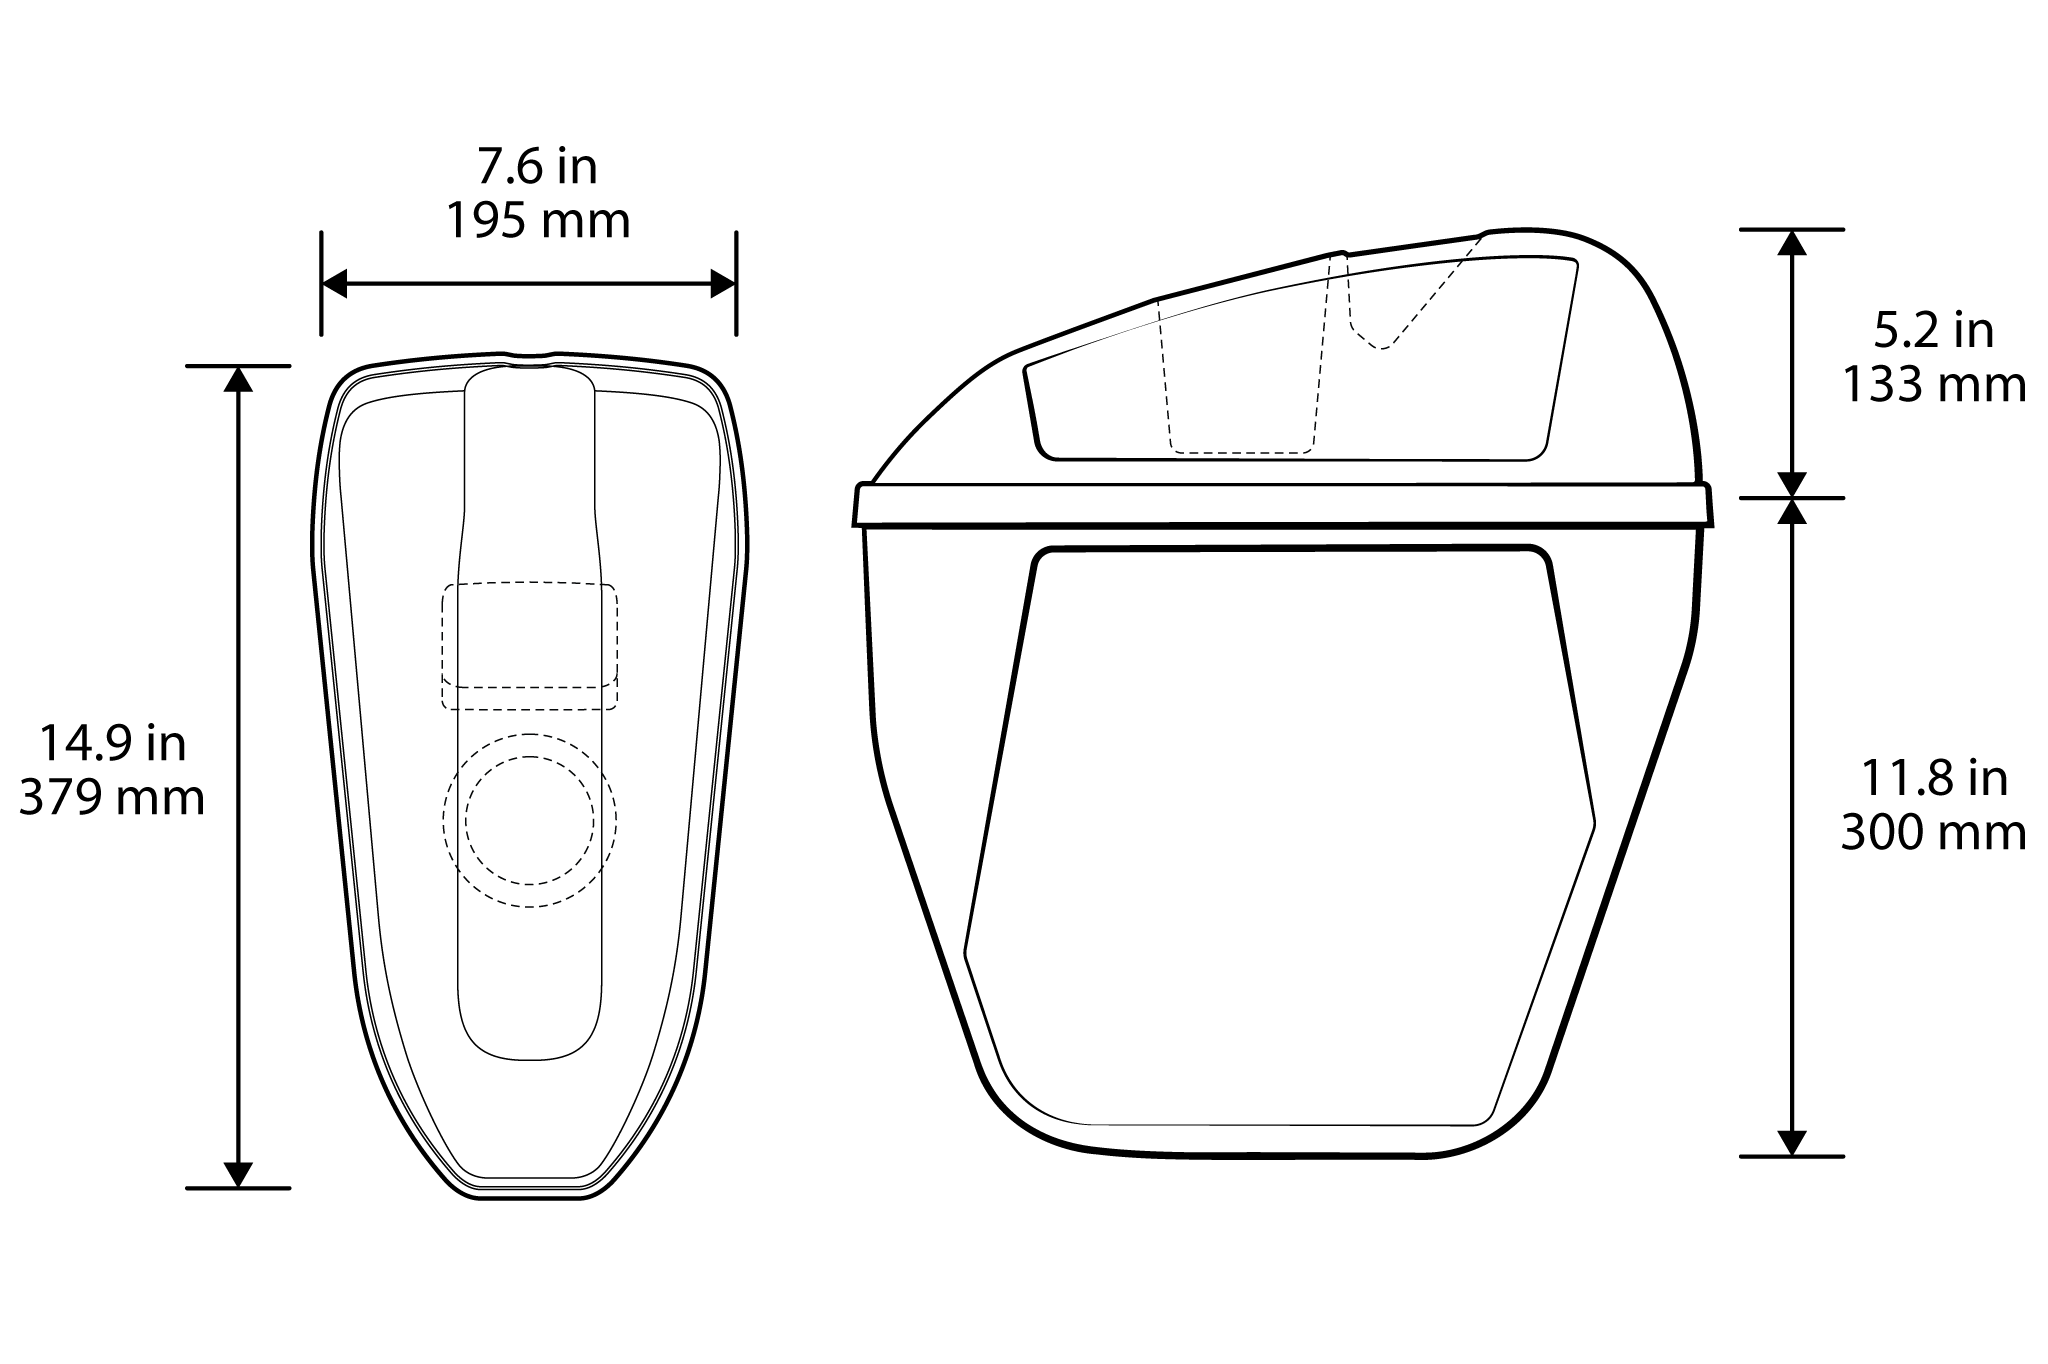
How Big is the Center Console?
The center console can hold up to 22 lb (10 kg) of cargo. Do not exceed the recommended weight or injury or damage may occur. Take a look at the image below to see how much you can fit in the center console.
Install the Center Console
Tools Needed:
- 4 mm Allen wrench
- Torque wrench
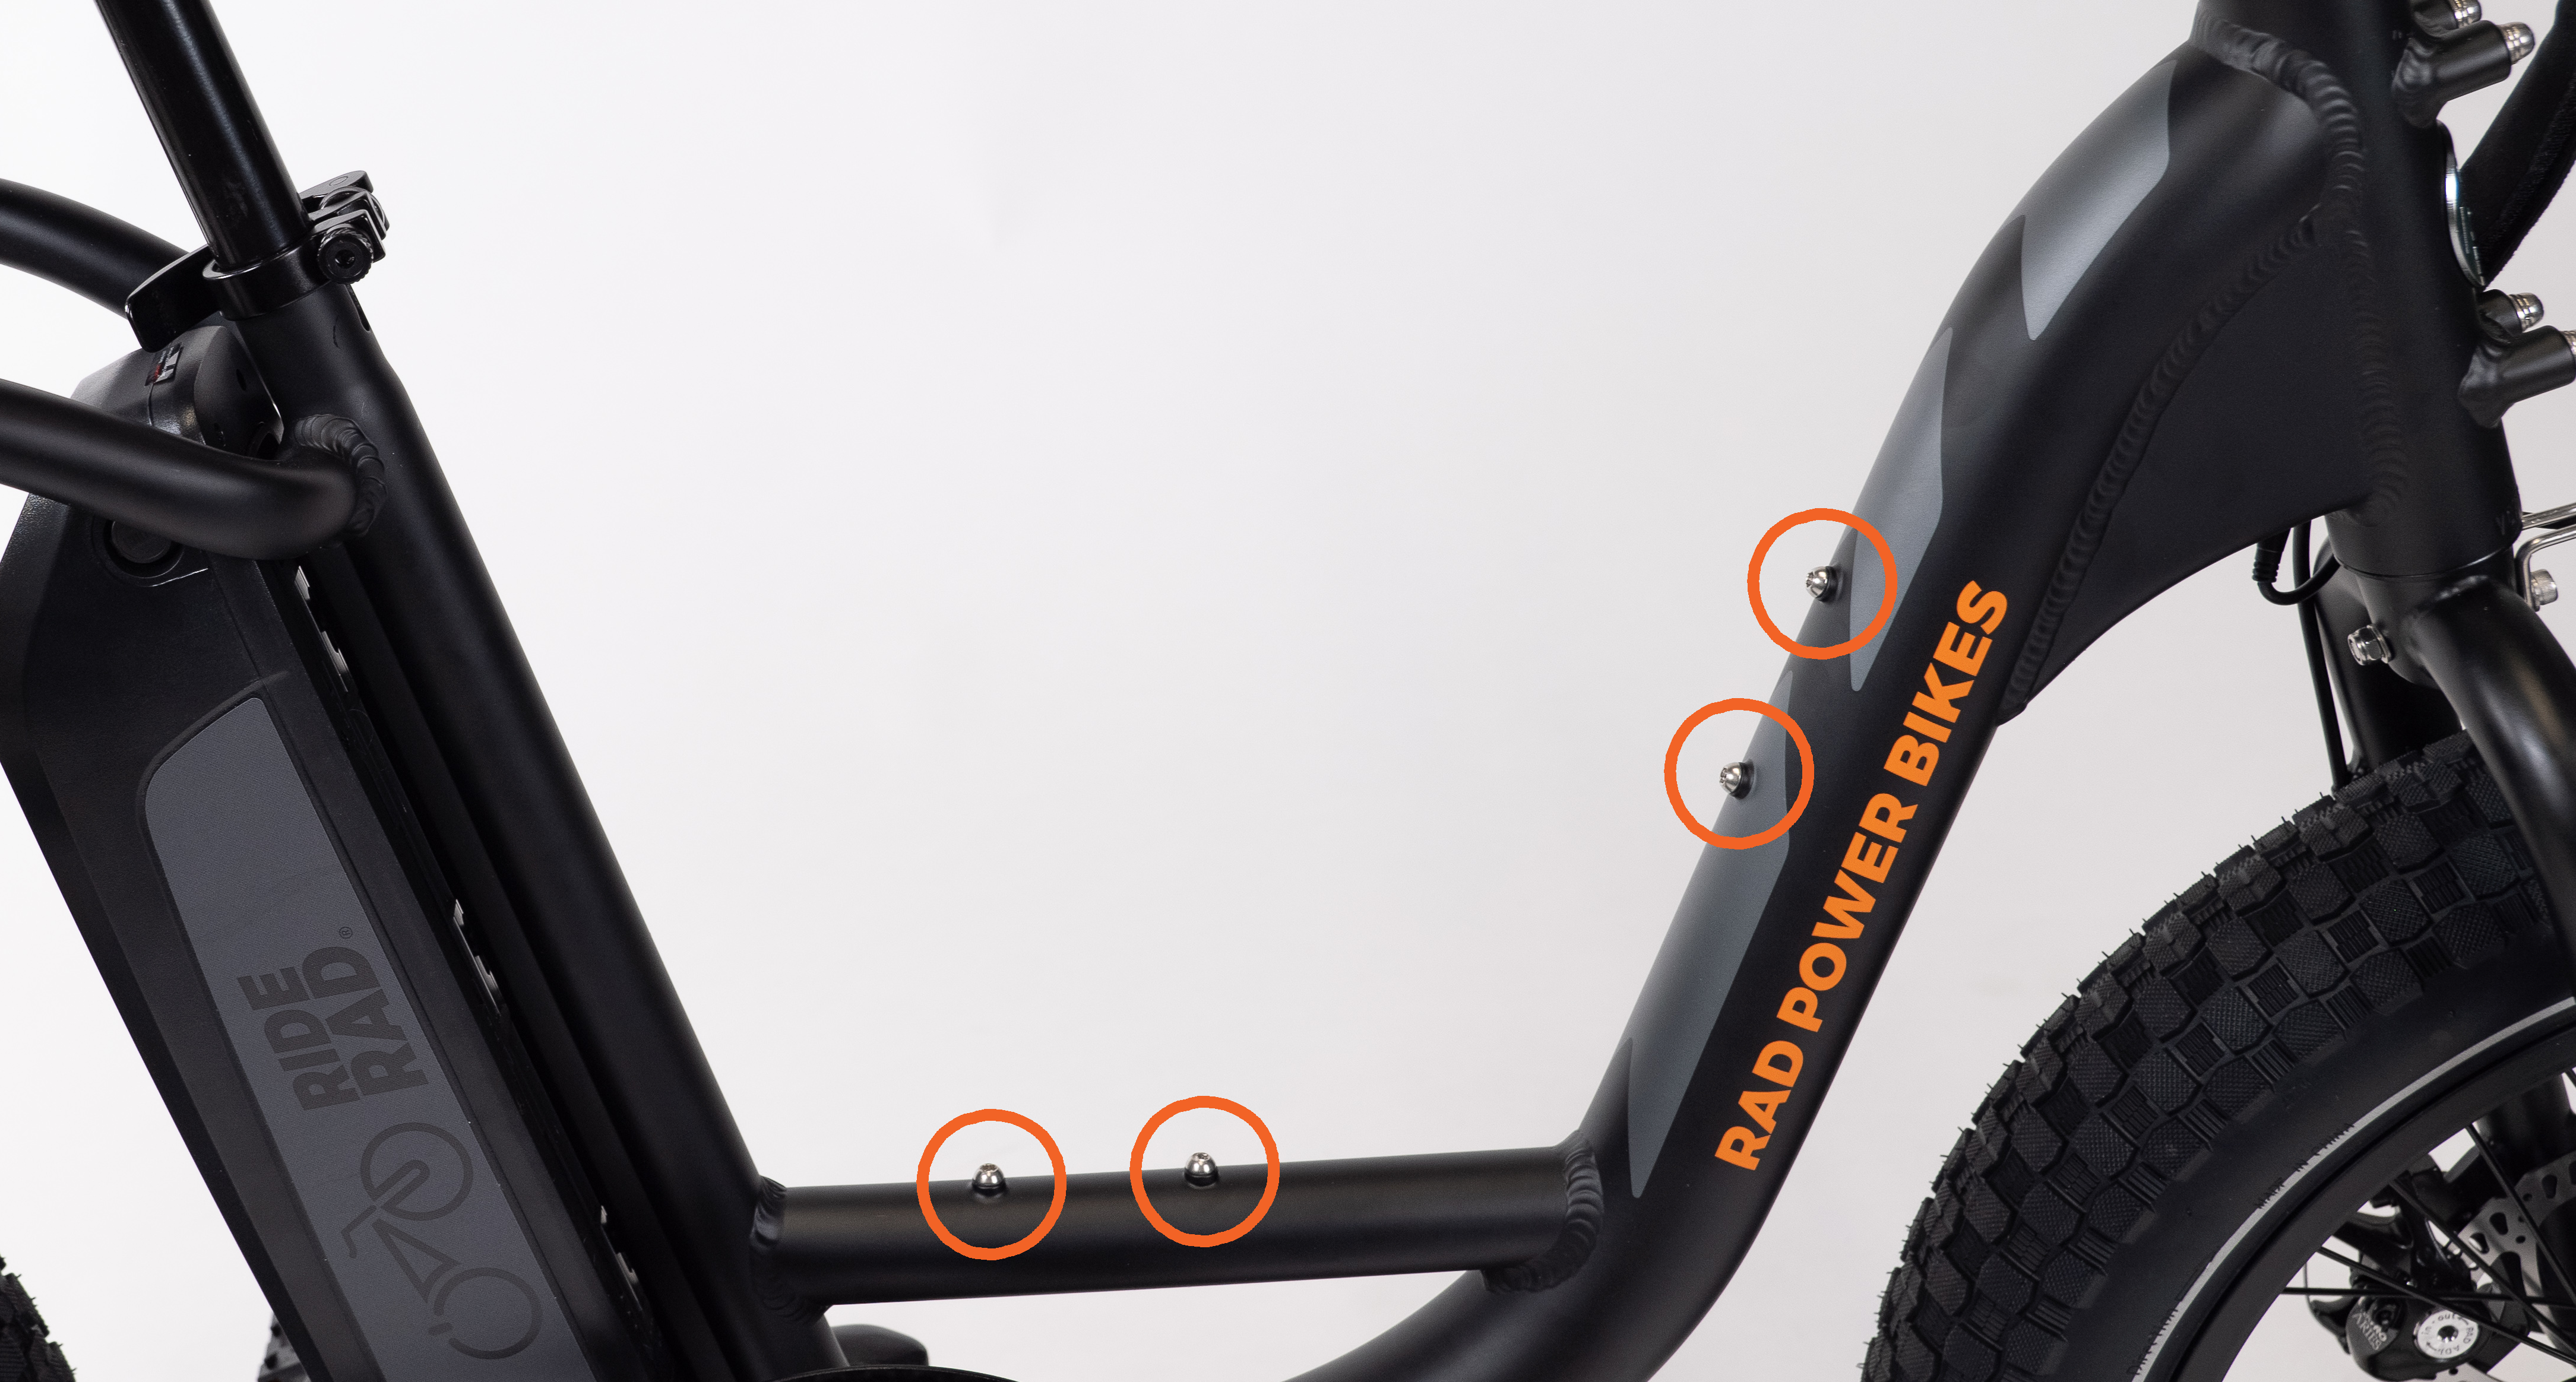
- Remove the mounting bolts on the frame. Use a 4 mm Allen wrench to remove the bolts from the four mounting points on the bike frame.
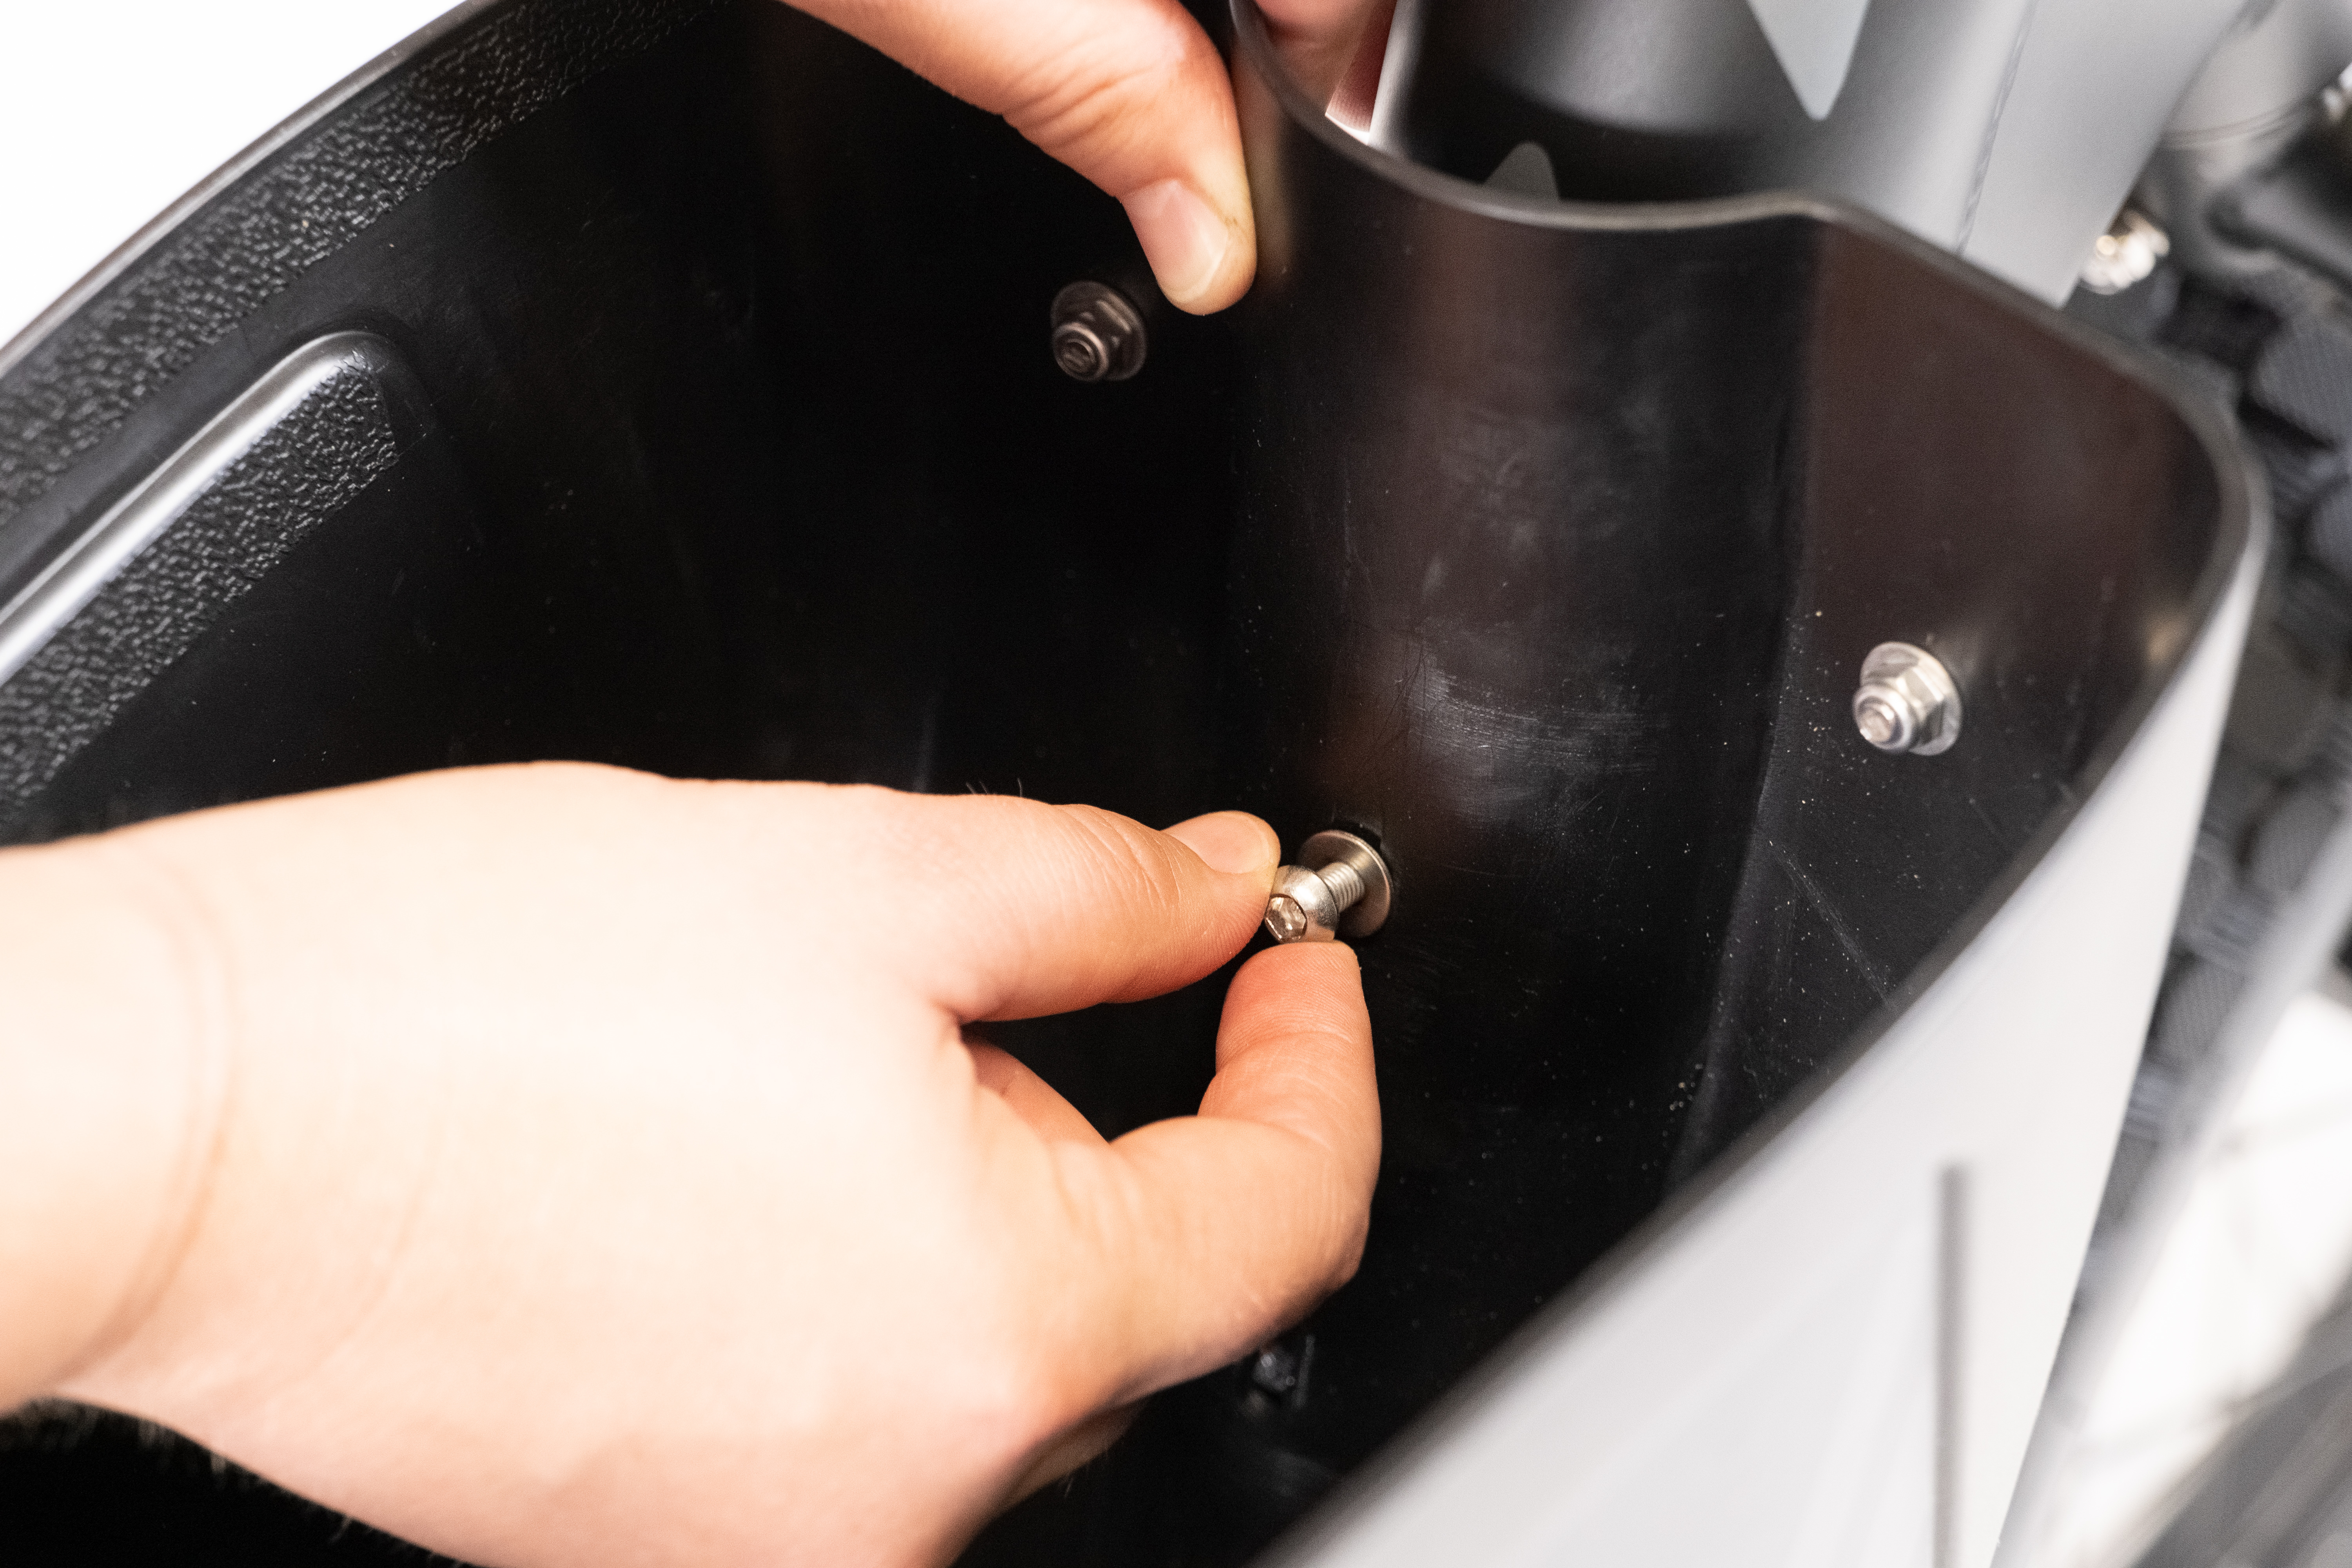
- Place the center console into position. Align the holes in the bottom and front of the console with the mounting points on the frame.
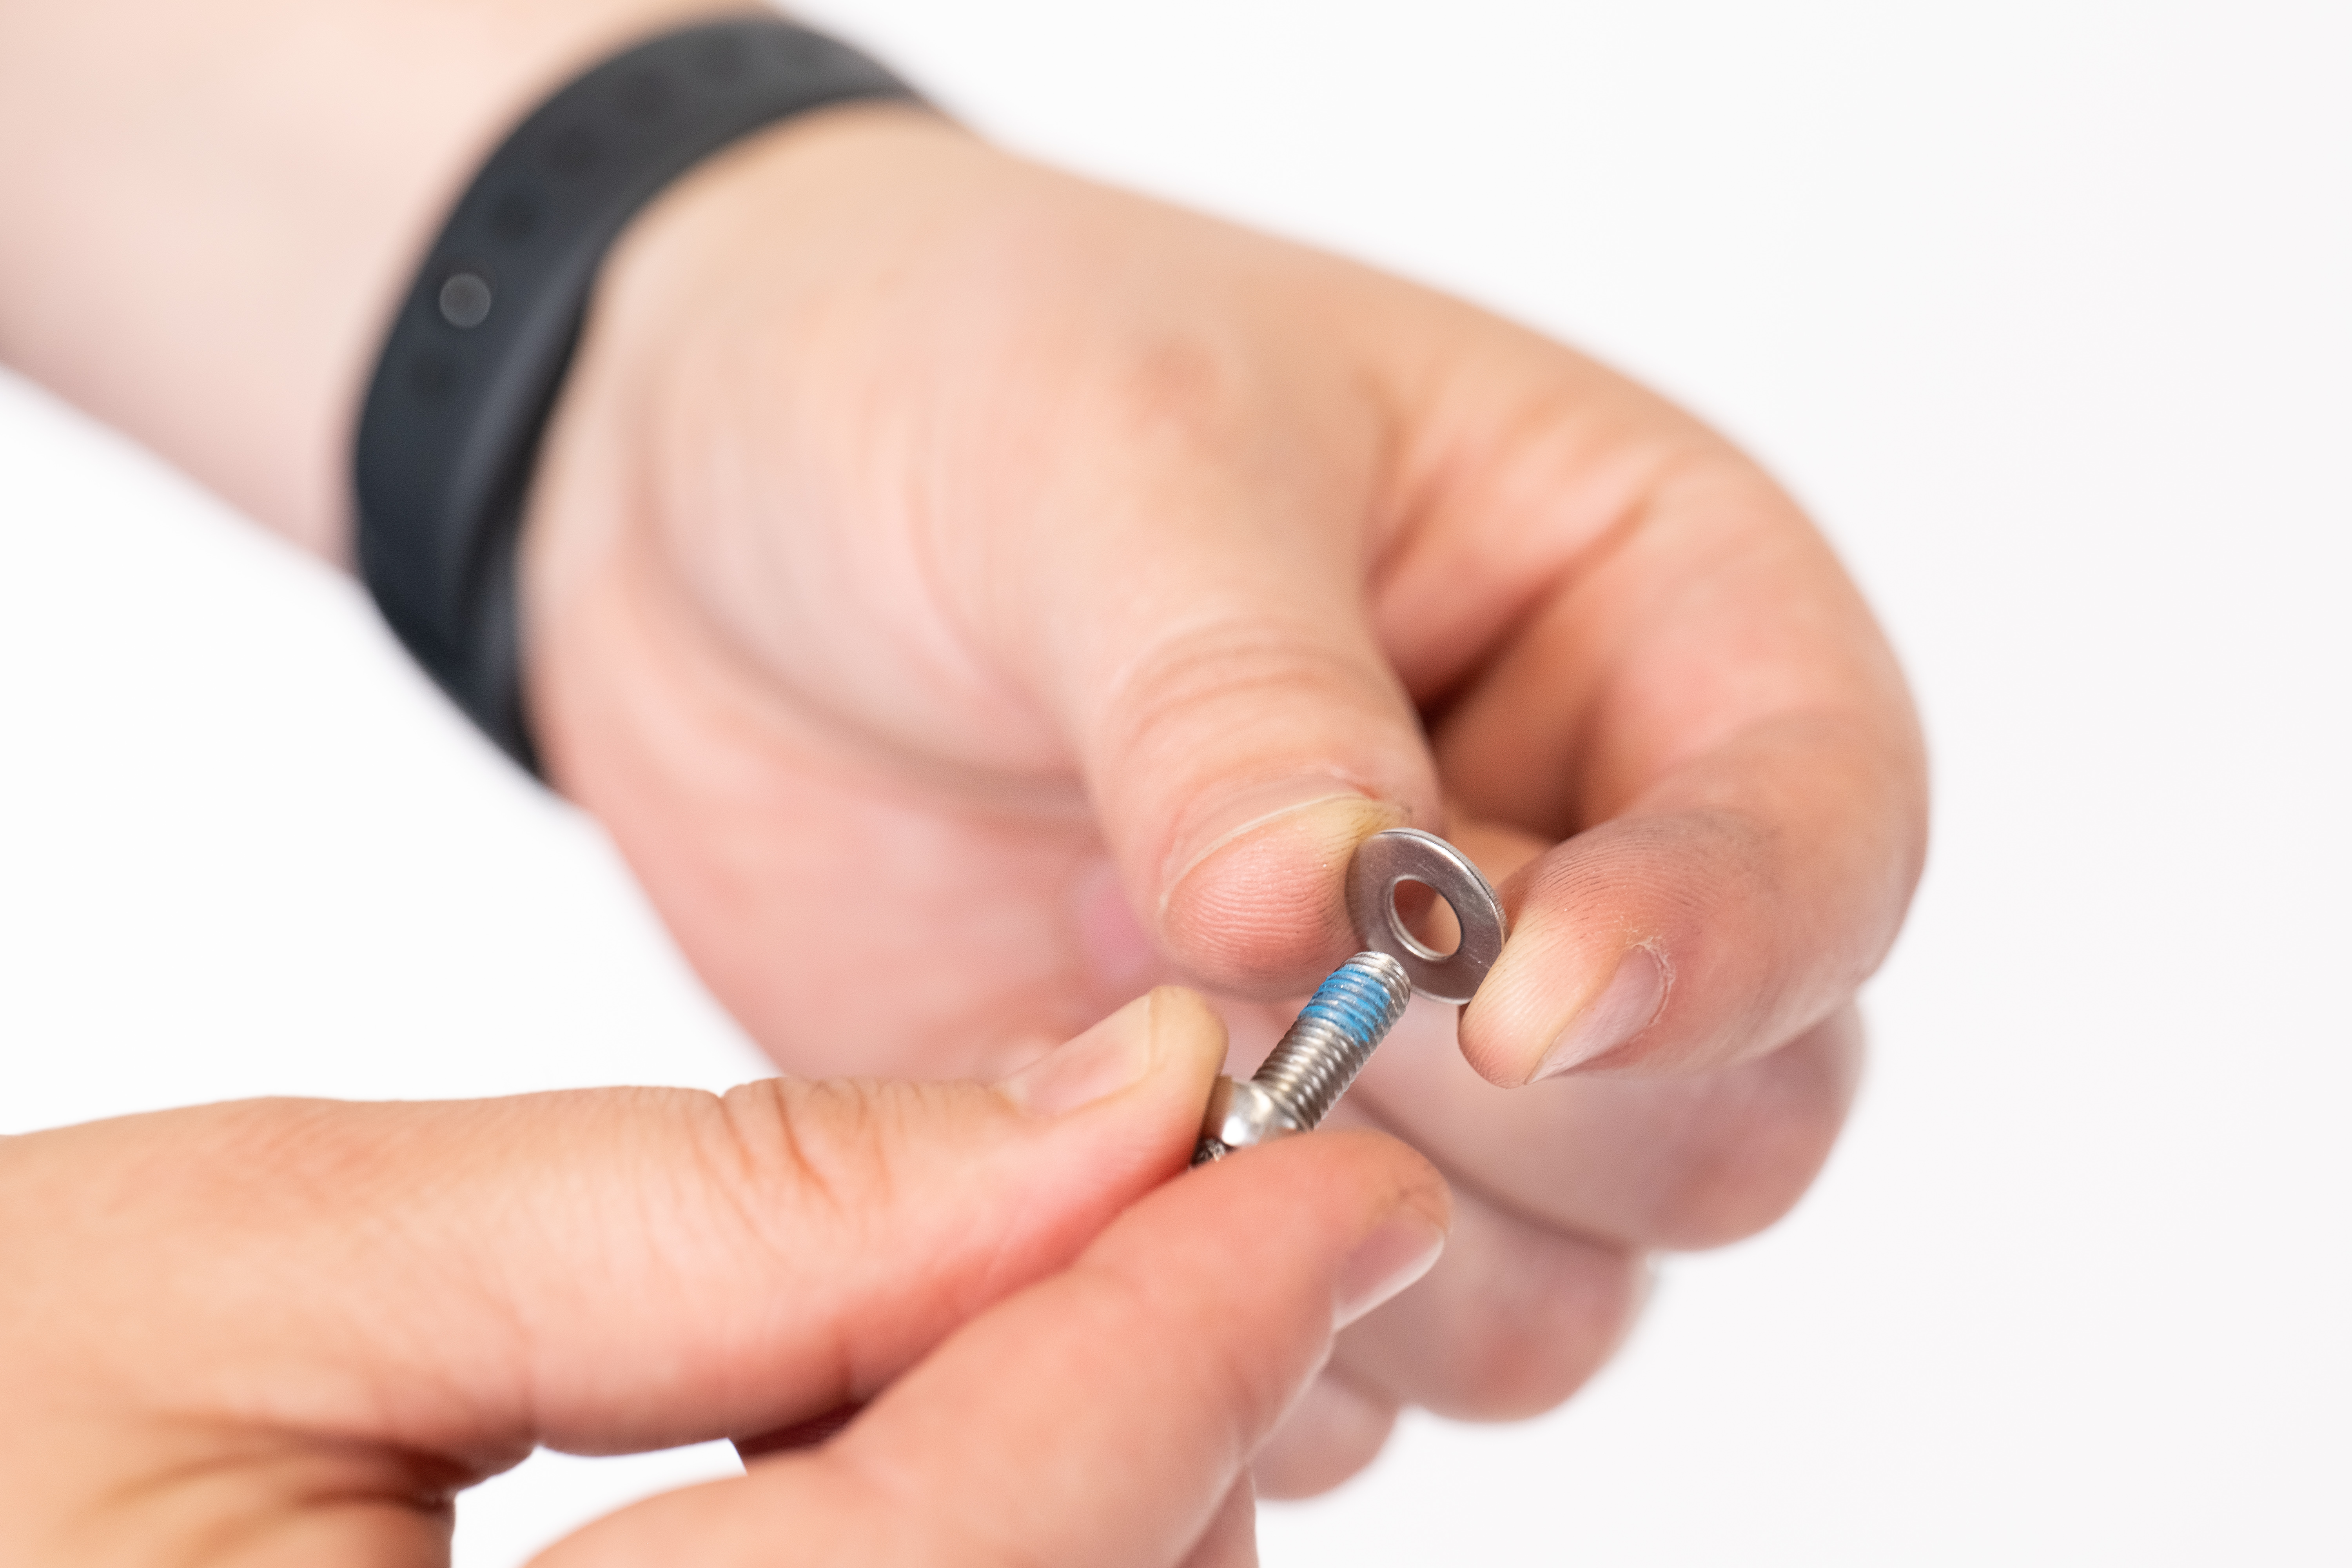
- Get the hardware ready for installation. Pass washer onto a bolt, and then insert the bolt through the console and into the mounting point on the frame. Tighten loosely by hand. Repeat for all four mounting points. Use a 4 mm Allen wrench, to tighten the four bolts evenly. Torque to 4 Nm. Do not overtighten.
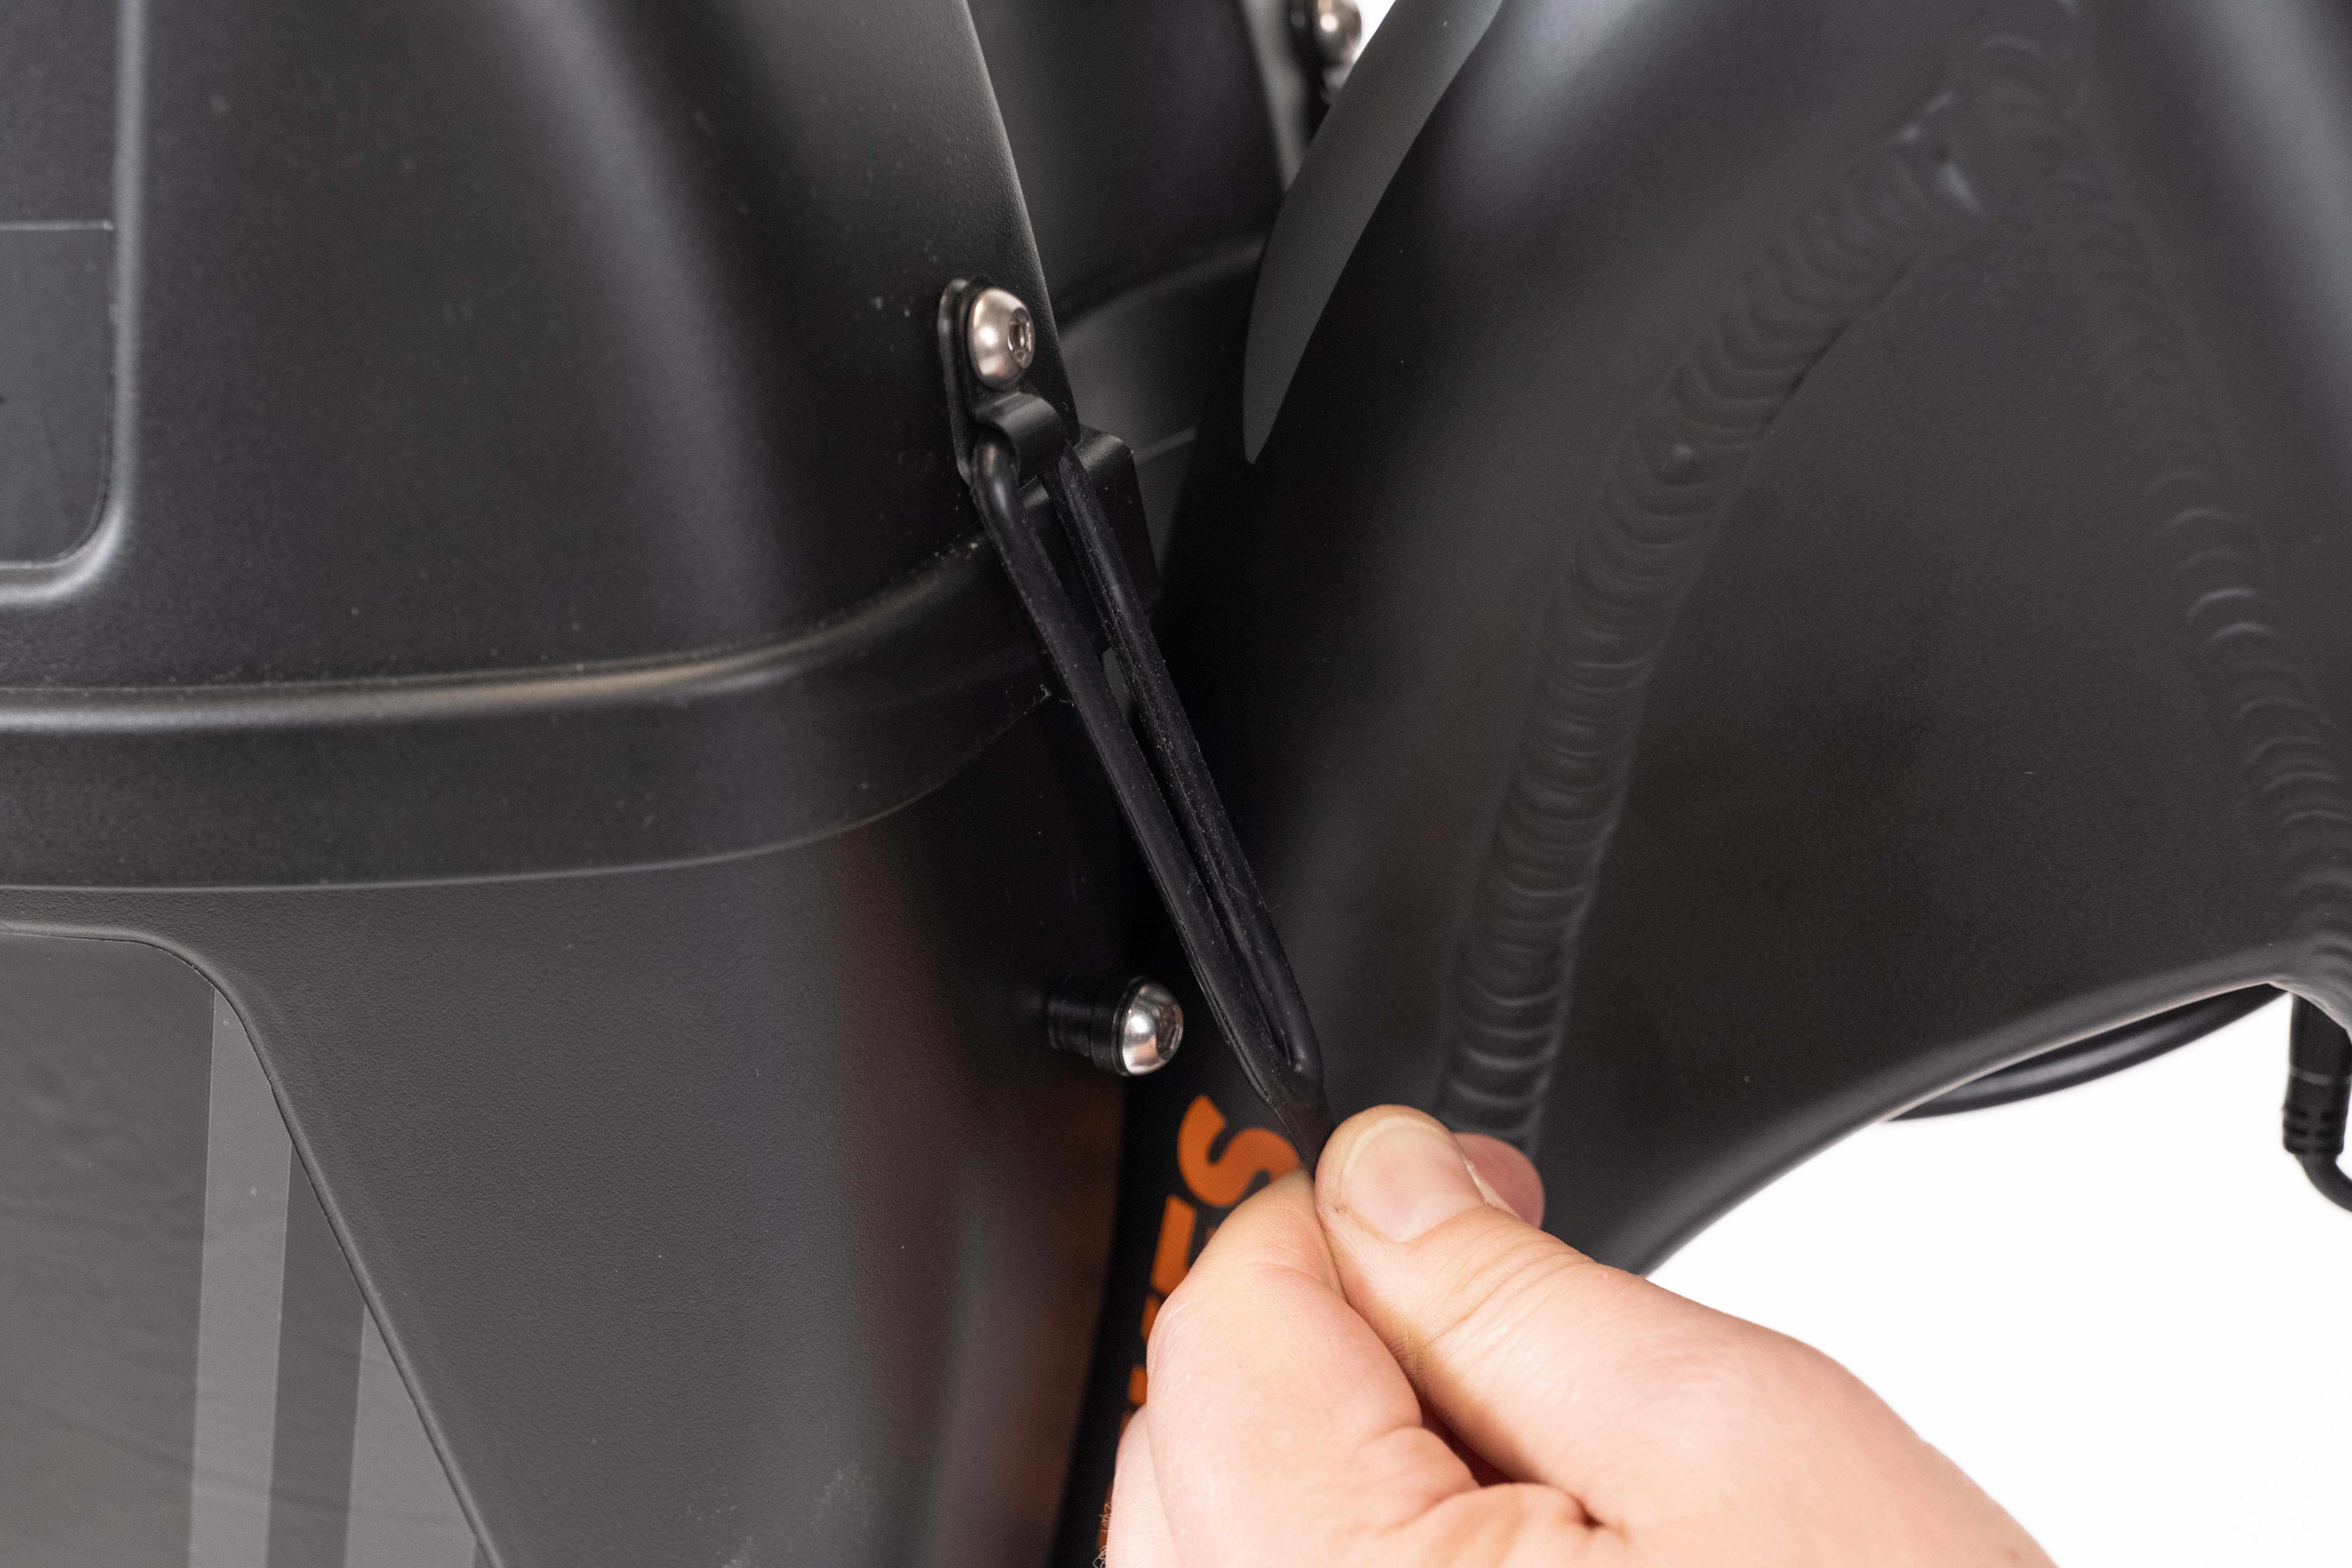
- Secure the lid. Stretch the straps over the mounting points on the front and back of the console.
- Test the bike fully before riding, and ride Rad!
If you are not confident in your ability to successfully and safely perform all steps, we recommend having the work performed by a certified and reputable local bike mechanic.