Battery Fuse Check Guide
If you have been instructed by Rad Power Bikes Product Support to complete a battery fuse check, this guide will show you how to check a fuse and replace it, if needed.
This procedure applies to the batteries used with 2018 and newer models only.
If you are not confident in your ability to successfully and safely perform all steps, we recommend having the work performed or checked by a local, certified, and reputable bike mechanic.
Tools Needed:
- Small flat head screwdriver
- Small needle nose pliers
- A replacement fuse
If the battery does not charge, follow the instructions in the Check the 5A Fuse section.
If the bike does not turn on, follow the instructions in the Check the 40A Fuse section.
Check the 5A Fuse
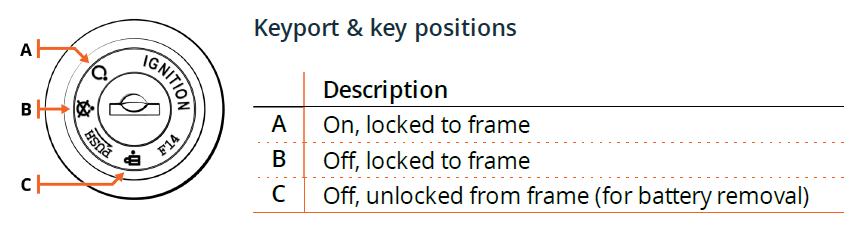
- Remove the battery. Set the battery upside down on a solid surface, with the battery in the off and unlocked position ("C" in the illustration below).

Do not touch the "+" and "-" terminal contacts on the bottom of the battery, be careful to keep the exposed connector terminals clear of debris, and do not drop or damage the battery. In the case of damage to the terminals or battery mounts, please discontinue use and contact Rad Power Bikes Product Support immediately. Never open the battery housing, which will void the warranty and can result in damage to the battery, property, serious injury, and/or death.
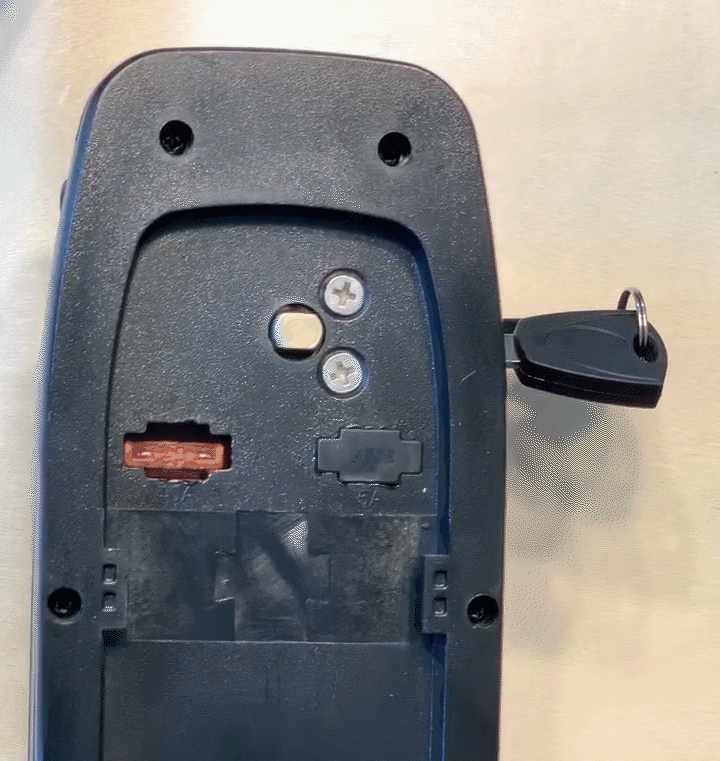
- Locate and remove the 5A fuse cover. Use a small flat head screwdriver to carefully remove the fuse cover and set it aside.
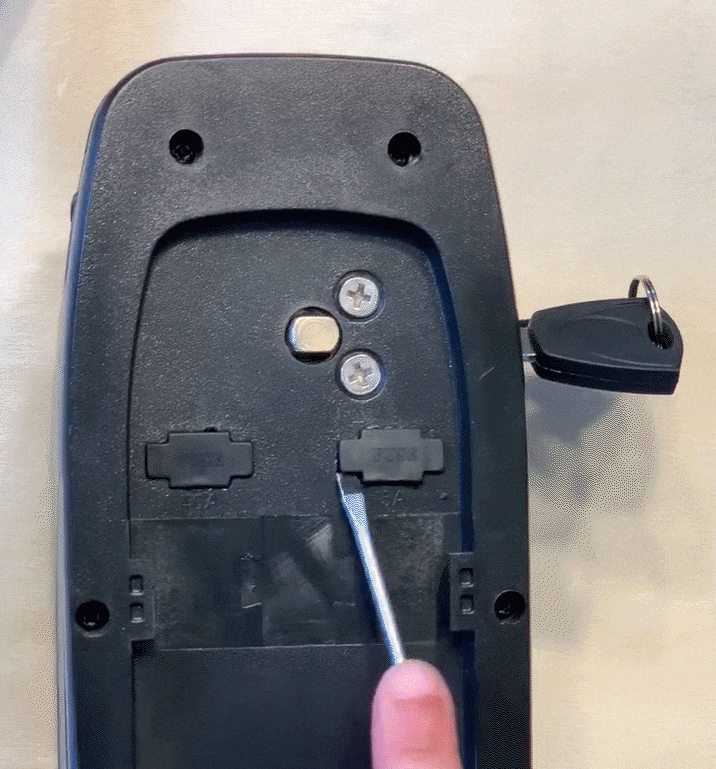
- Remove the fuse. Use needle nose pliers to carefully remove the 5A blade fuse. Gently grip the fuse housing with the needle nose pliers and pull the fuse directly outwards. Use caution to not damage the fuse with the pliers during removal.
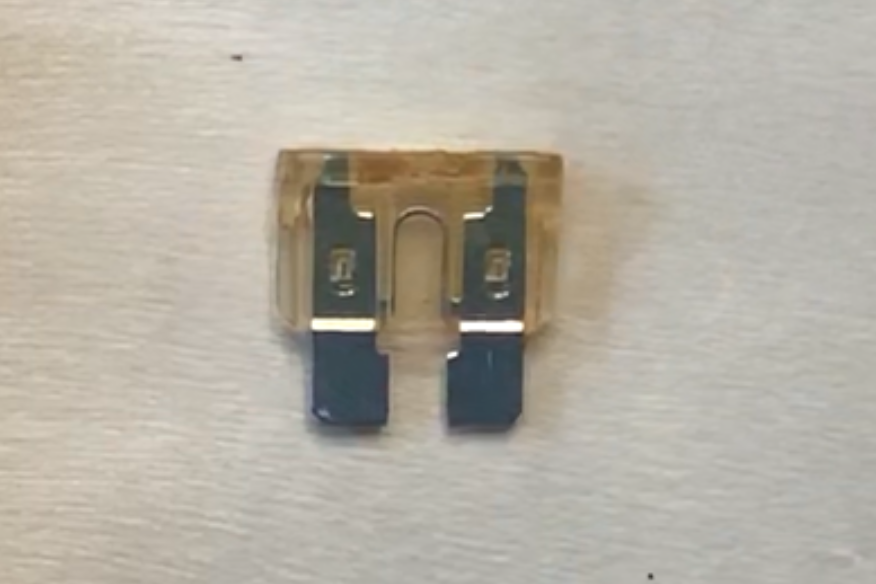
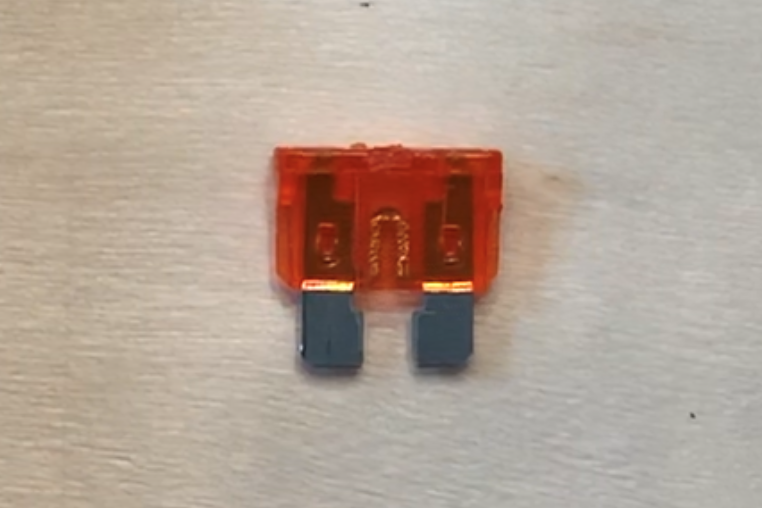
When removed, the fuse looks like this (plastic color may vary):
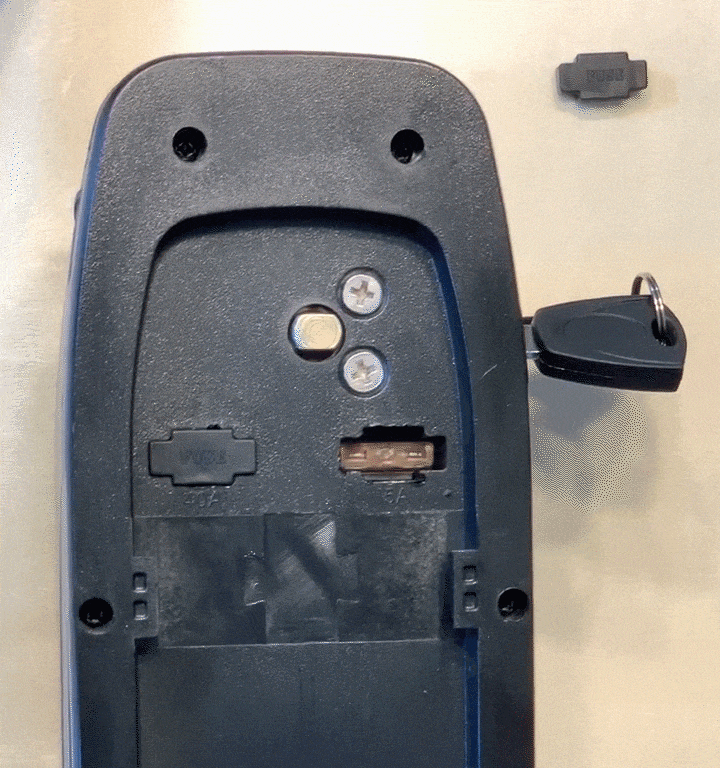
- Install the replacement fuse or reinstall the same fuse if it is determined to be operational.
.gif?revision=1)
- Reinstall the rubber cover over the fuse.
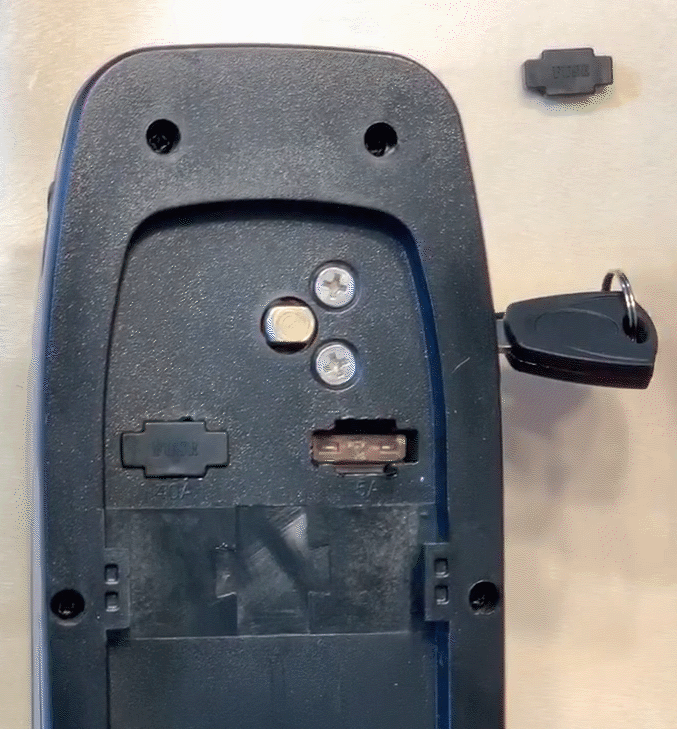
- Reinstall the battery and test the bike fully before riding.
Check the 40A Fuse
- Remove the battery. Set the battery upside down on a solid surface, with the battery in the off and unlocked position ("C" in the illustration below).
Do not touch the "+" and "-" terminal contacts on the bottom of the battery, be careful to keep the exposed connector terminals clear of debris, and do not drop or damage the battery. In the case of damage to the terminals or battery mounts, please discontinue use and contact Rad Power Bikes Product Support immediately. Never open the battery housing, which will void the warranty and can result in damage to the battery, property, serious injury, and/or death.
- Locate and remove the 40A fuse cover. Use a small flat head screwdriver to carefully remove the fuse cover and set it aside.

- Remove the fuse. Use needle nose pliers to remove the 40A blade fuse. Gently grip the fuse housing with the needle nose pliers and pull the fuse directly outwards. Use caution to not damage the fuse with the pliers during removal.
.gif?revision=1)
When removed, the fuse looks like this (plastic color may vary):
- Install the replacement fuse or reinstall the same fuse if it is determined to be operational.
.gif?revision=1)
- Reinstall the rubber cover over the fuse.
- Reinstall the battery and test the bike fully before riding.