RadRunner Full Fenders Installation Guide
RadRunner full fenders are an excellent addition to the RadRunner and are highly recommended for use with the Passenger Package.
Follow the instructions below to install fenders on your RadRunner.
Tools needed:
- Padding to protect the rear rack,
- 4 mm Allen wrench,
- 5 mm Allen wrench,
- 10 mm wrench,
- 18 mm wrench,
- Flat side cutters,
- Torque wrench with a 4 mm Allen bit,
- Bike pump with a Schrader valve,
- A few zip ties, and
- A bike stand or blocks.
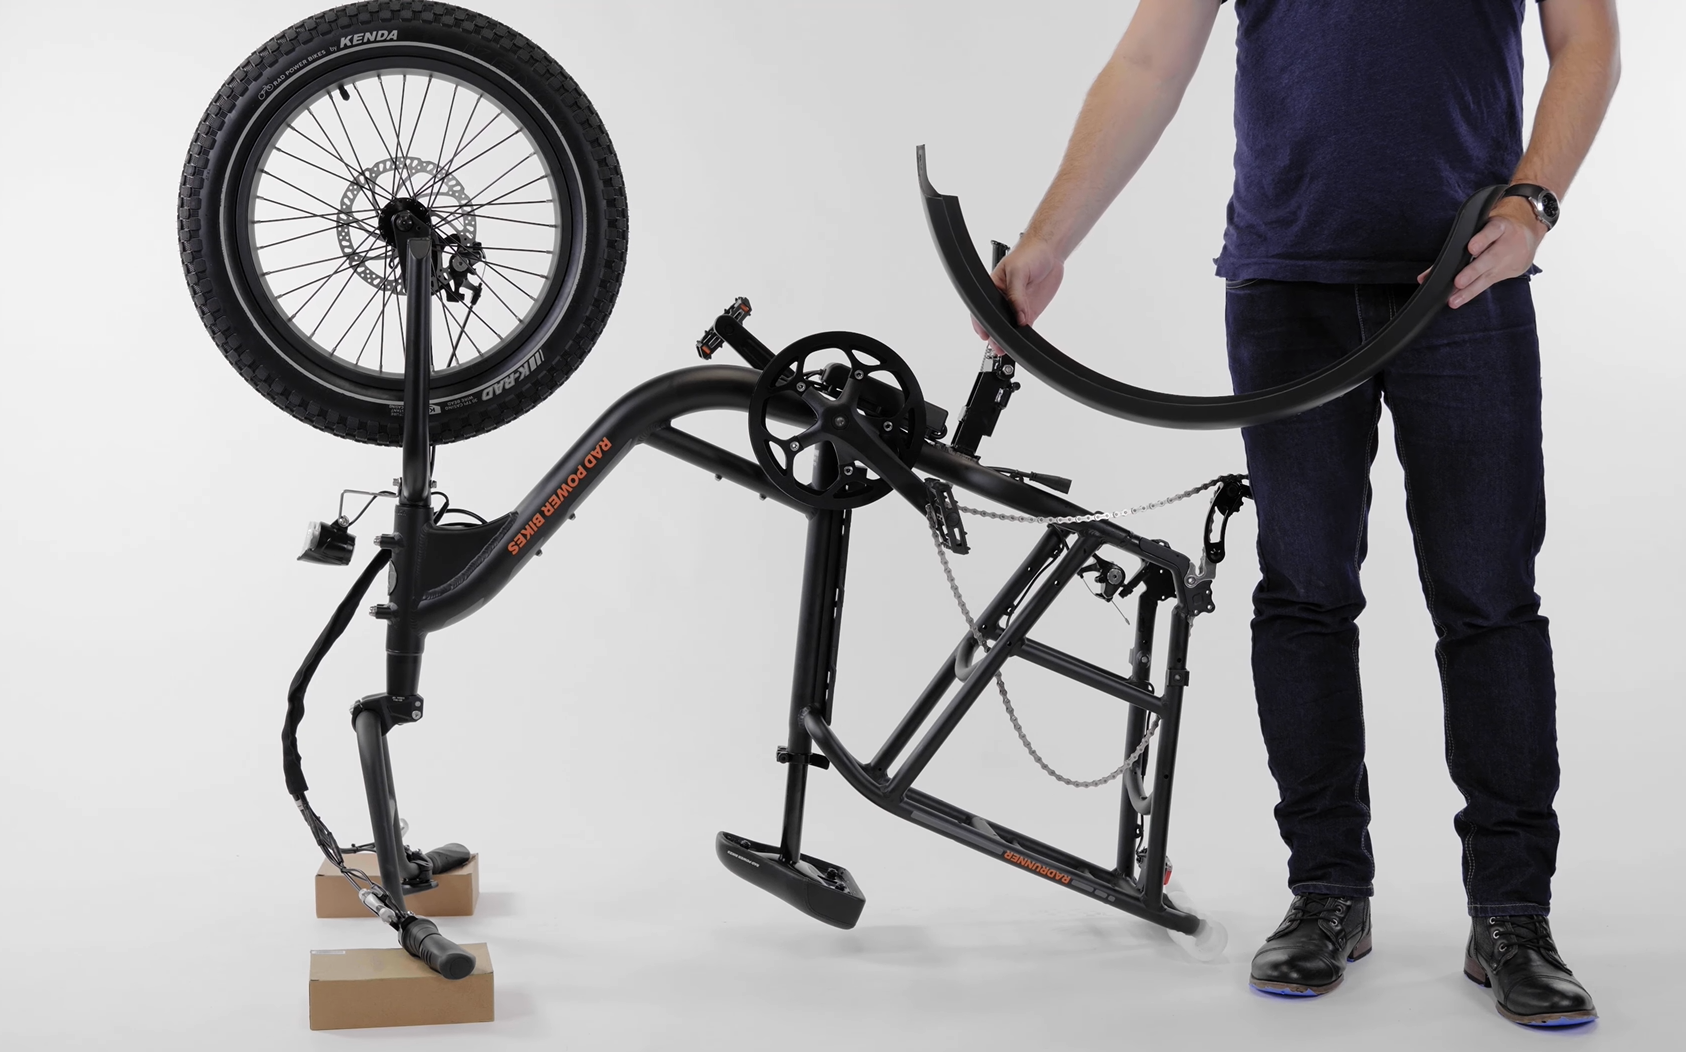
Prepare the Bike for Installation
- Get the bike ready for installation. Turn off the bike, remove the battery, and discharge remaining power.
- Cover the back of the rear rack with padding. Place padding over the back of the rear rack and secure it in place. This will protect the rear rack when the bike is being flipped over.
- Flip the bike upside-down. Squeeze the right brake lever and flip the bike over. Carefully prop the bike on the stand or blocks.
- Remove the bashguard. Use a 4 mm Allen wrench to remove the bashguard bolts. Keep the washers on the bolts and set the bashguard and the bolts aside.
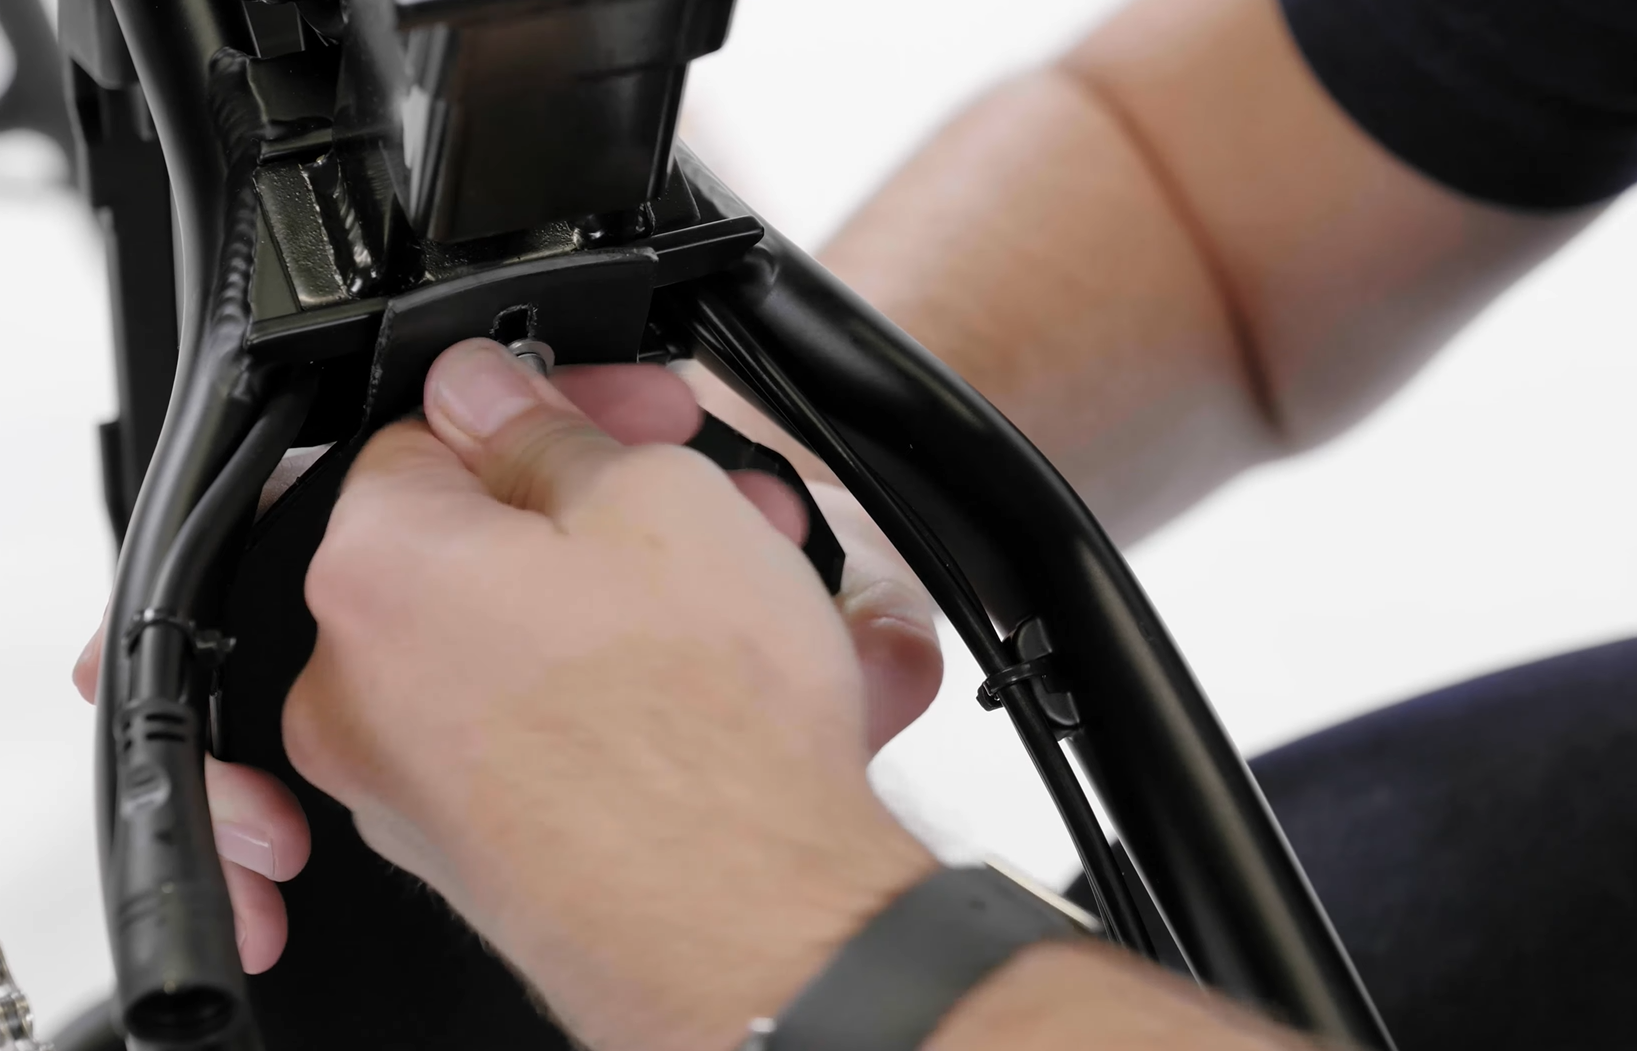
- Disconnect the motor connector. Trace the cable from the motor to the connector. Snip zip ties as needed and pull each side of the connector directly apart, without twisting, to unplug.
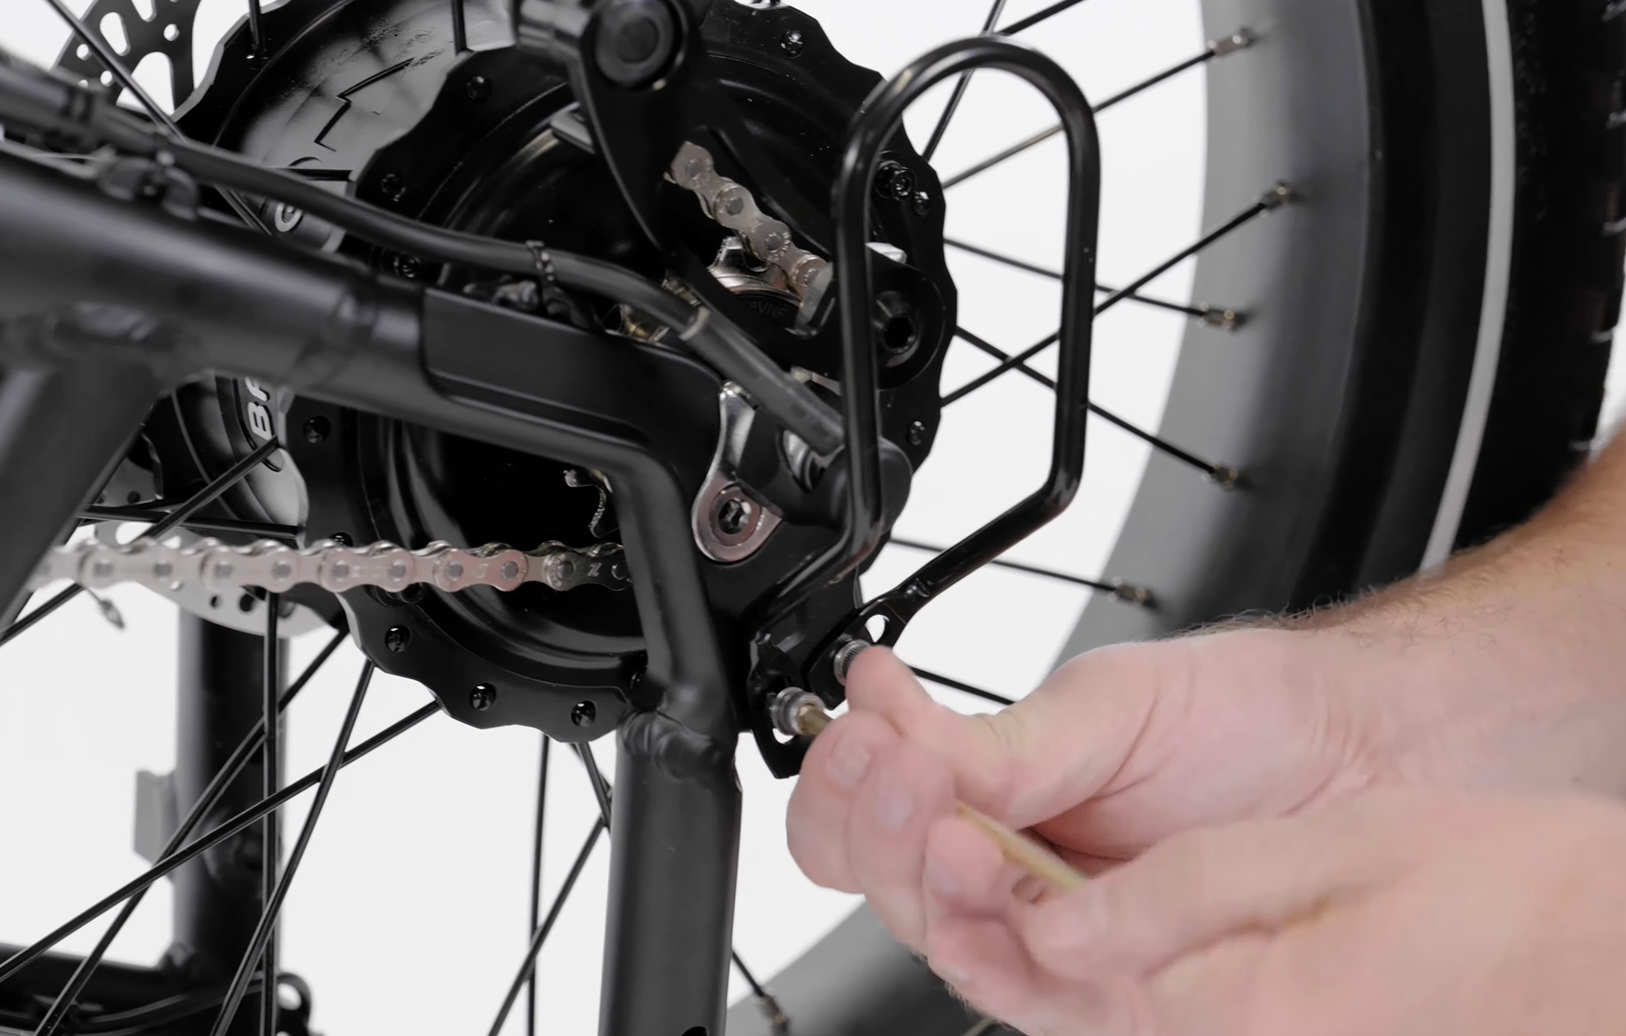
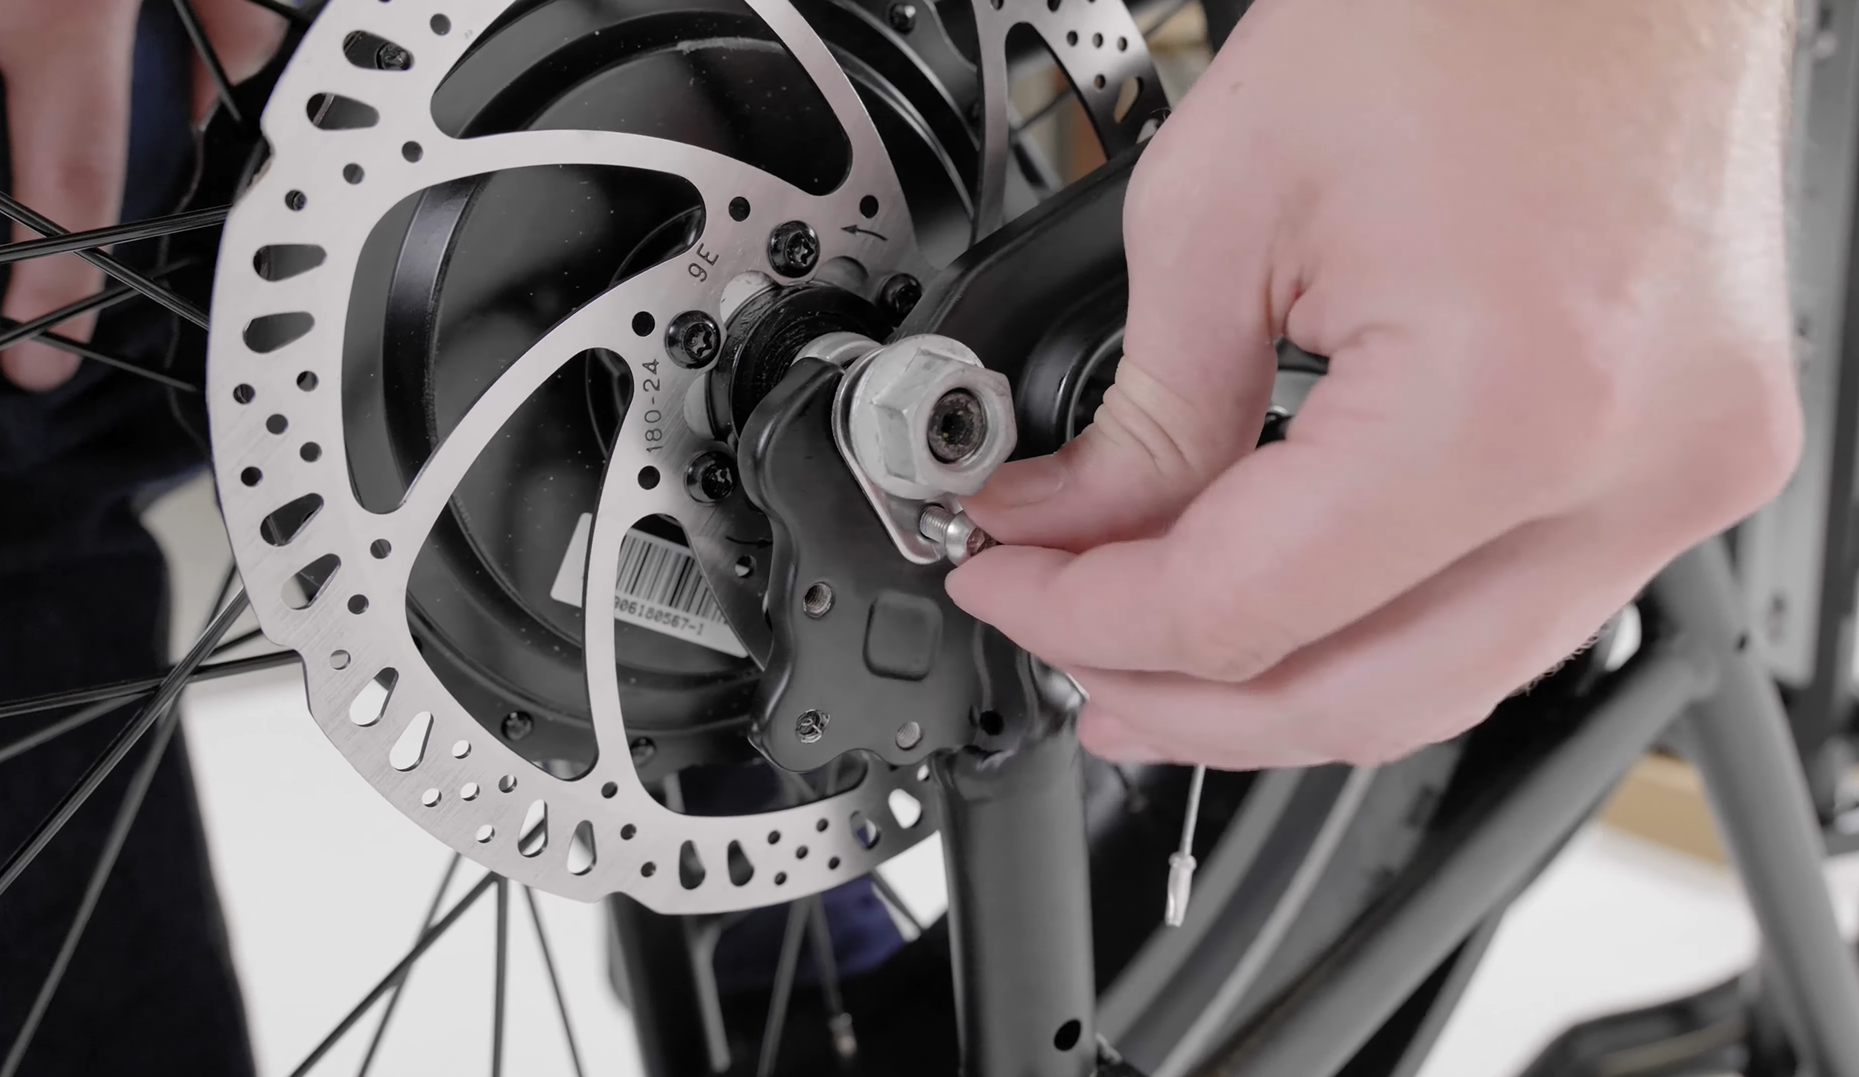
- Remove the torque arm hardware. Use a 4 mm Allen wrench to remove the bolt and washers and set aside. Ensure you do not touch the brake rotor. Make note of the torque washer orientation in each dropout, which is important for reinstallation.
- Loosen the axle nuts. Remove the axle nut cover and use an 18 mm wrench to loosen the nut. Slide the axle nut and spacer down the motor cable. Loosen the axle nut on the other side.
- Remove the rear wheel. Revolve the cranks backward and remove the chain from the chainring to create slack. Let some air out of the wheel, then pull the chain tensioner toward the back of the bike. Pull the wheel up and out of the dropouts and set it aside.
Install the Rear Fender
- Locate the two longer bolts. Pass a flat washer over each bolt end.
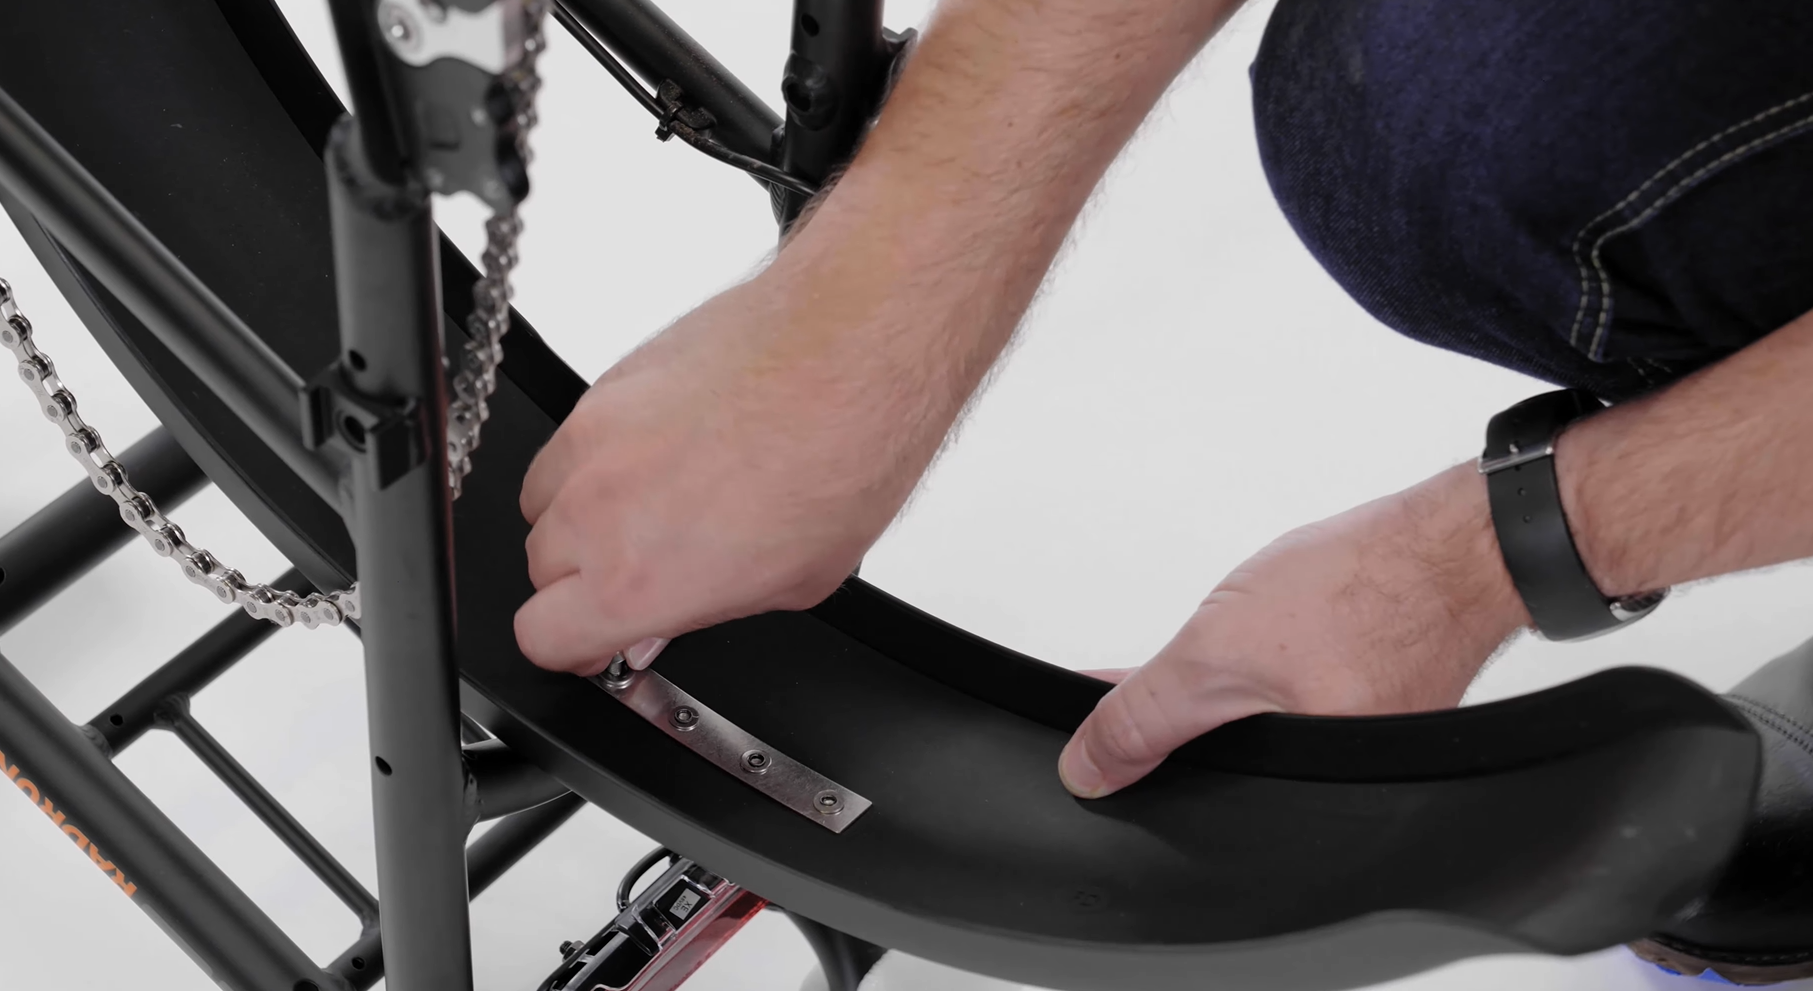
- Orient the fender. Orient the fender so the flared end is at the back of the bike and place it into position over the mounting points on the frame.
- Install the hardware. Pass the bolt end through the mounting point on the middle of the fender and carefully thread in the bolt by hand. Repeat with the other bolt on the next closest mounting point.
- Locate and install the shorter bolt. Pass a flat washer over the bolt end and thread in the bolt by hand into the mounting point closest to the bottom bracket.
- Tighten the bolts. Use a 4 mm Allen wrench to tighten the three bolts. Torque the bolts to 4 Nm.
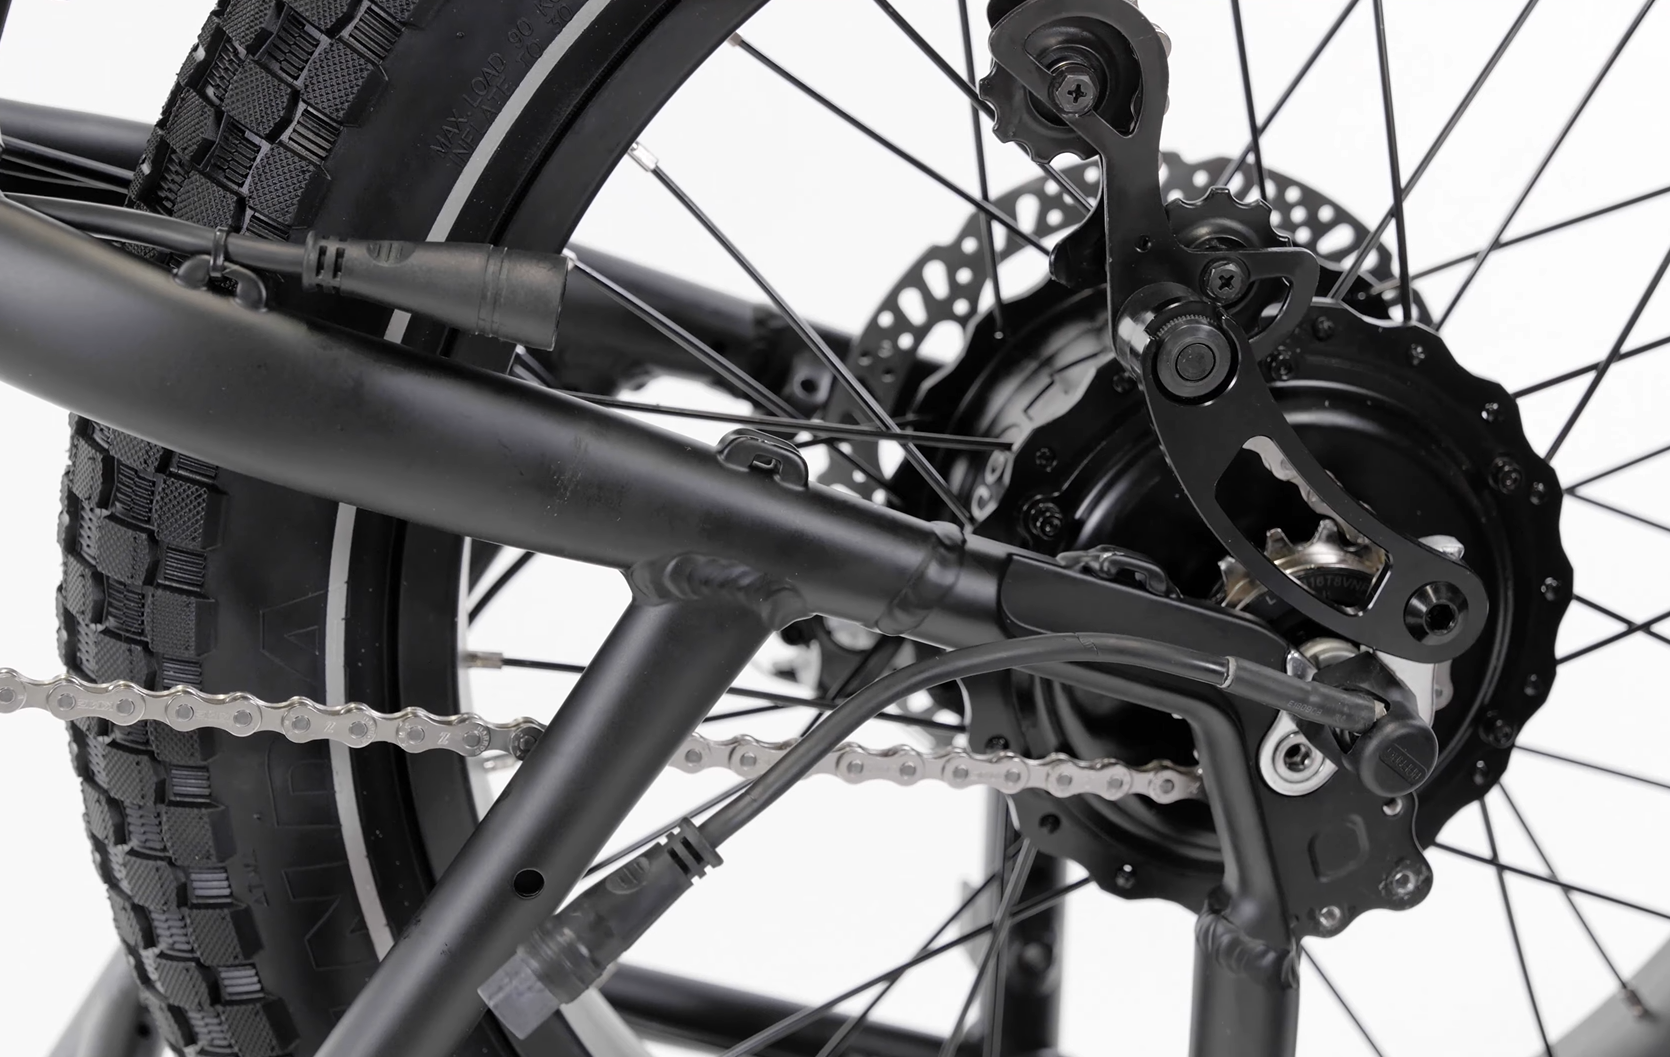
- Reinstall the rear wheel. Ensure the tensioner is as far toward the back of the bike as possible. Align the rear wheel so the cogs are the side of the bike with the chain. Ensure the brake rotor slides between the brake pads and the caliper and the motor axle and the torque washers slide into dropouts fully.
- Reinstall the torque arm bolts. Use a 4 mm Allen wrench to tighten securely. Torque the bolts to 5 Nm.
- Tighten the axle bolts. Slide the washer and axle bolt up the motor connector cable. Thread on the bolt by hand. Tighten the axle nut on the other side by hand and use an 18 mm Allen wrench to tighten the axle bolts evenly. Torque the bolts to 40 Nm and reinstall the axle bolt cover.
- Reinstall the chain. Use the handle of an Allen wrench to lift the chain onto the rear cog and front chainring.
- Plug in the motor connector. Line up the internal notches and pins (and external arrows) and press directly together, without twisting, to connect.
- Replace the zip ties. Trim the zip ties to be flush and smooth.
- Reinstall the bashguard. Place the bashguard into position, thread in the bolt by hand, and use a 4 mm Allen wrench to tighten the bolts securely. Torque each bolt to 5 Nm.
- Flip the bike so it is right-side up. Squeeze the right brake lever and flip the bike. Prop the bike on the kickstand.
- Inflate the rear tire. Check that the tire bead is fully seated on the rim and then inflate the tire to the recommended tire pressure printed on the tire sidewall or in the owner's manual.
Install the Front Fender
- Unplug the headlight. Trace the cable from the headlight to the connector. Pull both sides of the connector directly apart, without twisting, to unplug.
- Remove the headlight mounting hardware. Use a 5 mm Allen wrench and a 10 mm wrench to remove the headlight mounting bolt, washers, and lock nut.
- Place the fender into position. Pass the fender under the fork arch from the back of the front wheel.
- Install the headlight mounting hardware. Pass a washer over the bolt end and pass the bolt end through the headlight mounting bracket, the fender mounting point, and the mounting point on the bike. Pass the other washer over the bolt on the other side of the fork, and thread on the lock nut by hand. Use a 5 mm Allen wrench and a 10 mm wrench to tighten the bolt to 5 Nm.
- Plug in and adjust the headlight. Line up the internal notches and pins (and external arrows) and press directly together, without twisting, to connect. Adjust the headlight slightly downward.
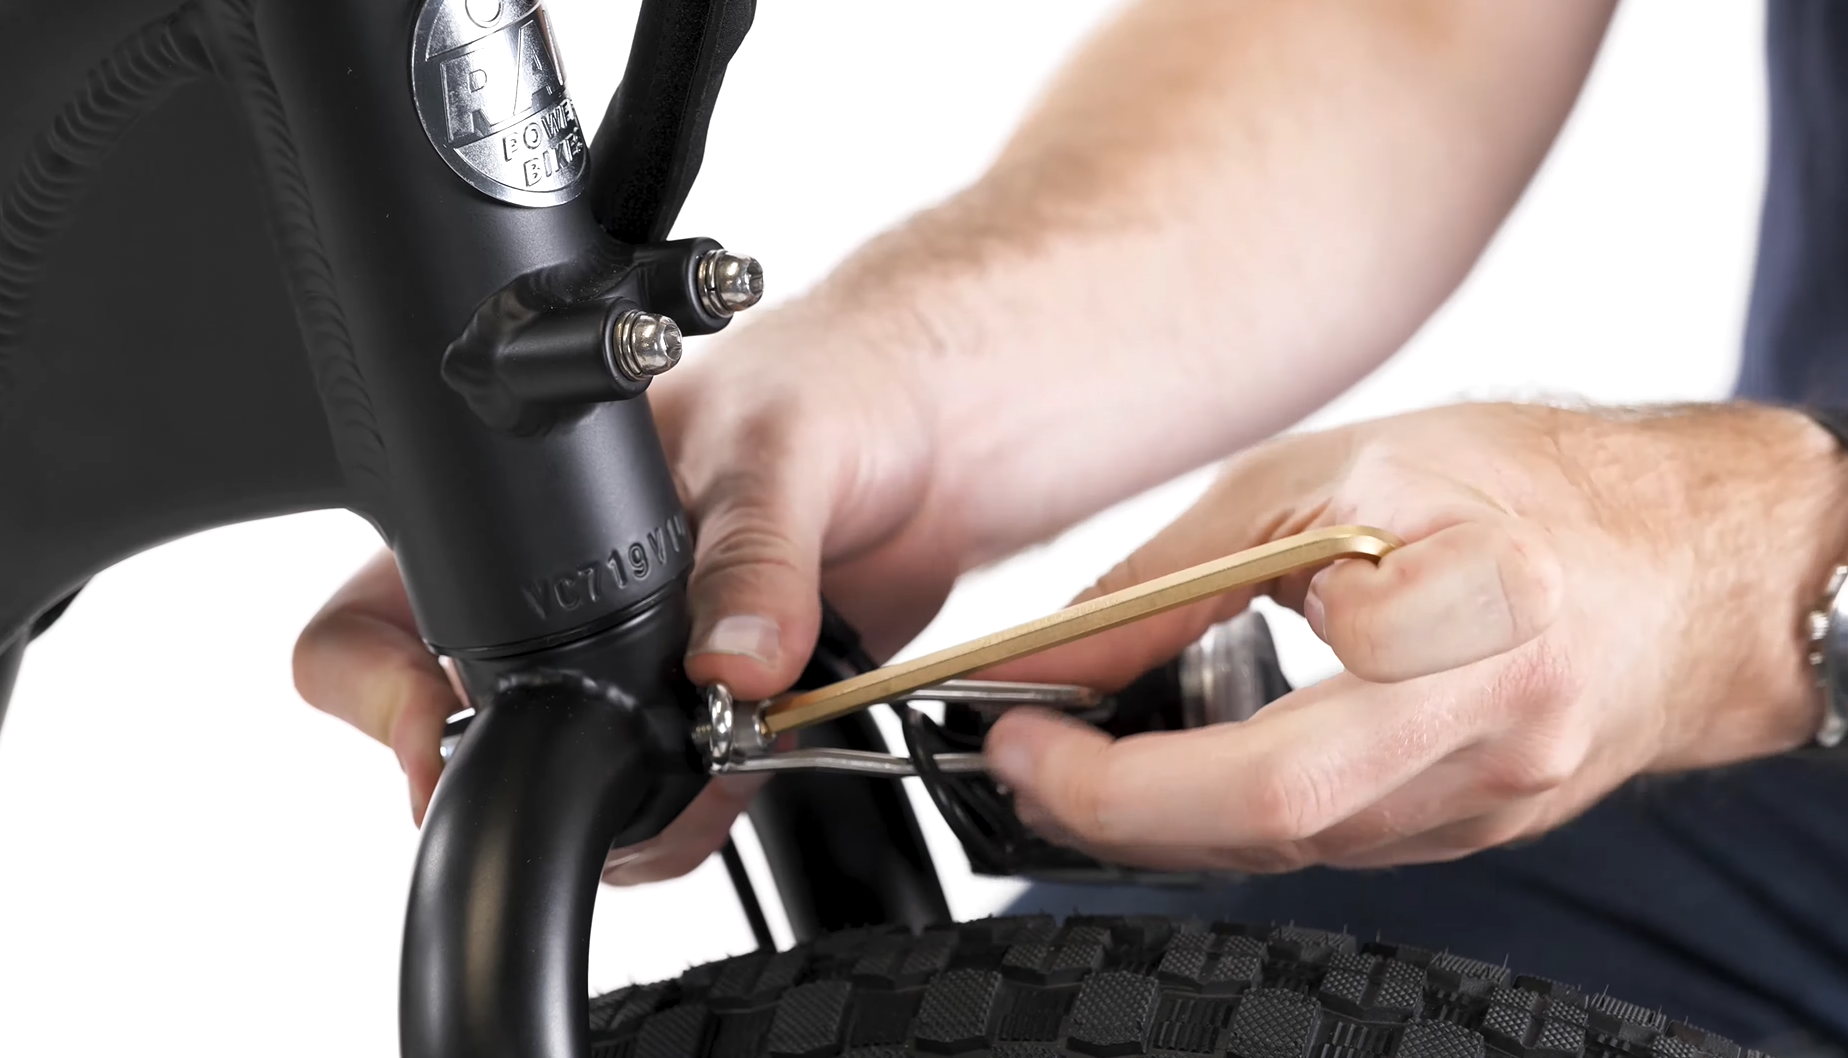
- Locate the front fender mounting hardware. Pass a split washer and a flat washer over each bolt end.
- Secure the fender mounting arms. Place a fender arm eyelet over the mounting point on the bike and thread in the bolt by hand. Repeat with the other fender arm and use a 4 mm Allen wrench to tighten securely. Torque each bolt to 4 Nm.
- Check that the fenders are secure and centered. Check that the fenders are aligned with the wheels and that the wheel has proper clearance. Revolve the cranks to check that cables are free from moving parts.
- Reinstall the battery and test the bike fully before riding.
If you are not confident in your ability to successfully and safely perform all steps, we recommend having the work performed or checked by a local, certified, and reputable bike mechanic.