RadRhino Wiring Harness Connector Check Guide
The wiring harness connects various electrical components on your bike. If instructed by Rad Power Bikes Product Support to perform a wiring harness connector check, follow the steps below to check that the connector is plugged in and in working order.
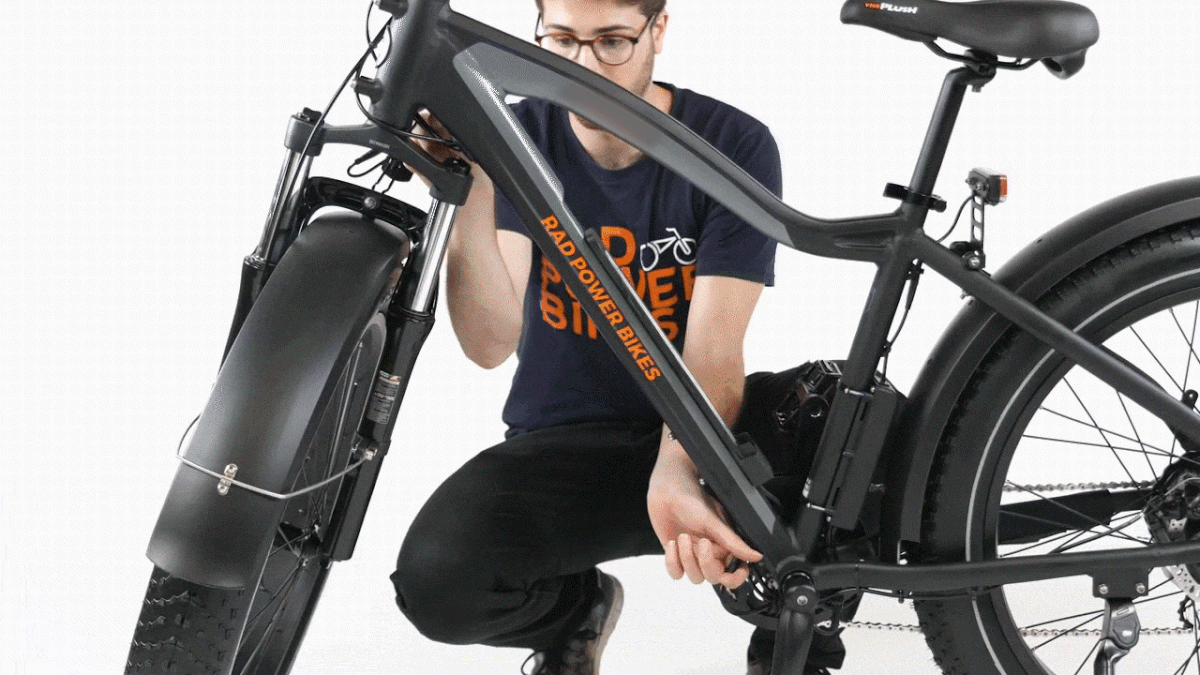
This guide uses a RadRhino 5, but the steps will be the same for other RadRhino models.
You will need:
- Flat side cutters
- Flat head screwdriver
- A few zip ties
- Get the bike ready for maintenance. Turn off the bike, remove the battery, and press and hold MODE to discharge remaining power.

- Unseat the rubber grommet. Carefully snip zip ties as needed, and use a flat head screwdriver to remove the rubber grommet on the lower cable opening of the downtube.

- Unplug the battery connector. The battery connector is the large connector located near the bottom bracket. The connector is flat on one side and is black inside with two large prongs. Pull each side of the connector directly apart, without twisting, to unplug.

- Pull the battery connector out of the way. Carefully pull the cable coming out of the battery mounting tray until the cable is almost completely out of the downtube. This will free up space in the downtube and make it easier to access the wiring harness.
Note: in most cases pulling the connector body into the seated grommet provides enough clearance for the wiring harness connector to slide down past the battery connector. It may be necessary to push the connector back in, unseat the upper grommet carefully, and fully remove the battery connector from the upper cable opening.

- Rotate the handlebar to the right. Push the wiring harness cable (the thickest cable at the handlebar) into the upper cable opening to create cable slack.
- Access the wiring harness connector. At the lower cable opening, gently pull the wiring harness cable until the connector is out of the downtube.
Note: if the wiring harness connector is or becomes unplugged with the upper end in the downtube, unseat the upper grommet, fully remove the battery connector, and carefully use a screwdriver, from the upper opening down, to push the wiring harness connector down to the lower opening. Do not insert any tool from the lower opening upwards, as that can damage the pins of the connector.
- Unplug the connector, inspect the inside, and reconnect. Pull each side of the connector directly apart, without twisting, to unplug. Inspect the inside, and if the connector looks normal, line up the internal notch and pins (and the external arrows) and press directly together, without twisting, to reconnect.

- Insert the wiring harness connector through the lower cable opening and into the downtube. Double-check that the wiring harness connector is fully connected, then insert the connector into the lower cable opening. Rotate the handlebar to the center to help guide the connector back into the downtube.

- Reconnect the battery connector.
- Push the battery connector end directly through the downtube and out through the cable opening.

- Pass the connector end through the grommet.

- Line up the flat sides of the connector ends and press directly together, without twisting, to reconnect.

- Push the battery connector end directly through the downtube and out through the cable opening.
- Install the rubber grommet on the lower cable opening. Repeat with the upper grommet if necessary.

- Replace zip ties. Ensure the cables are secure and out of the way of moving parts. Trim the zip ties to be flush and smooth.

- Reinstall the battery and test the bike fully before riding.
If you are not confident in your ability to successfully and safely perform all steps, we recommend having the work performed by a local, certified, and reputable bike mechanic.